expr:class='"loading" + data:blog.mobileClass'>

header code

Showing posts with label classroom decor. Show all posts

Tuesday, August 14, 2012

In Bloom

My ninth year teaching first grade is in bloom. I have 26 darlings in my class and today is our fifth day together. I have been crazy busy, I know I'm preaching to the choir when I post that! Well, I've got the best first grade team to work with. Seriously, the three ladies I work with are amazing. Every year we do a welcome to first grade type of bulletin board. Each grade at our school has a cooperative board space they're in charge of filling to represent what is happening on their grade. We took our first grade photos and turned them in to a sort of circle map to introduce ourselves. They're so fun and our students get a kick out of seeing what we looked like when we were their age. Anyway, I hope your year starts off great and I hope your teaching yields many beautiful blooms this year.

Sunday, June 24, 2012

Writer's Eye Glasses

Hello everyone.  I'm pleased to post a tutorial for making the Writer's Eye Glasses.  I enlisted the help of my hubby, since he is the genius behind the Writer's Eye Glasses.  So, without further delay, here goes the tutorial...

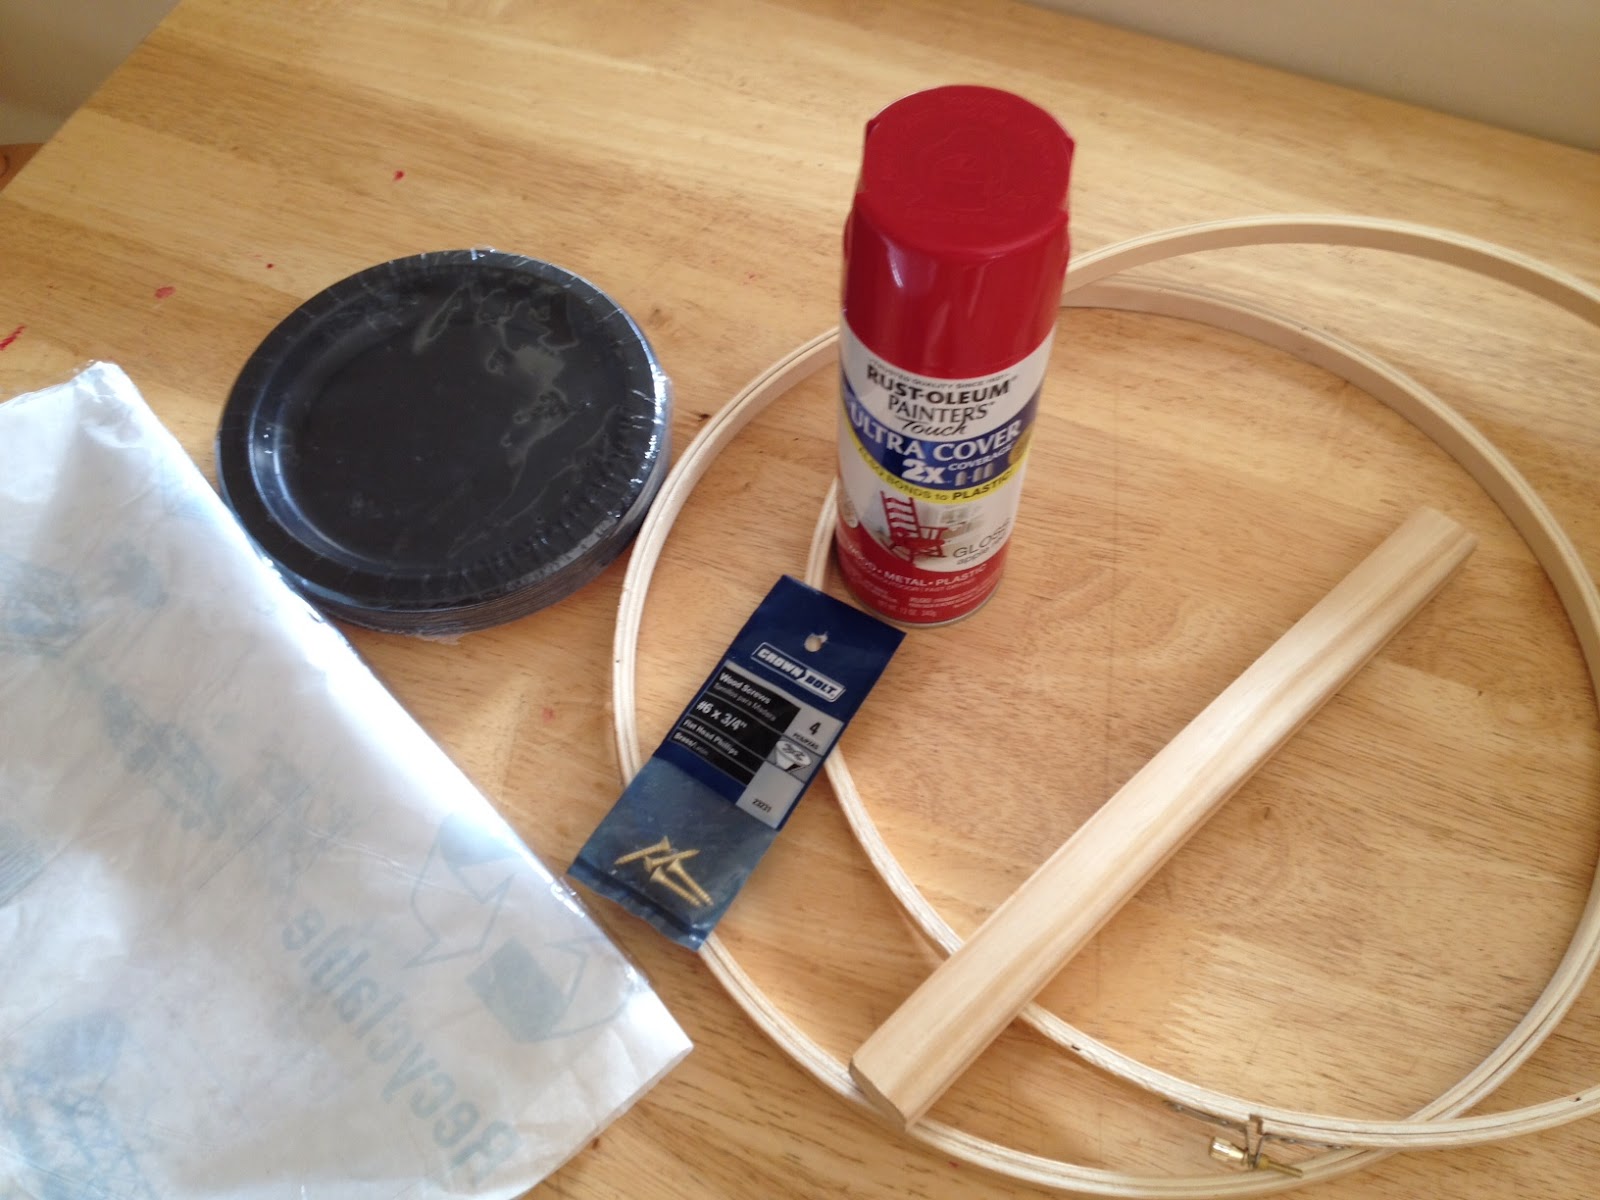
You'll need to gather supplies... 2 embroidery hoops (I used 14 inch hoops here), spray paint, 2 small black paper plates, a cut of vinyl (I had a 16 inch piece cut to ensure it covered my hoops), a piece of wood (I cut a 12 inch long piece of 11/16"x1" pine), and screws (I used #6x3/4" brass wood screws).  I bought all of the supplies new and it cost under $14.  I also had left over supplies so if you already have some of this stuff use it and save some money honey!

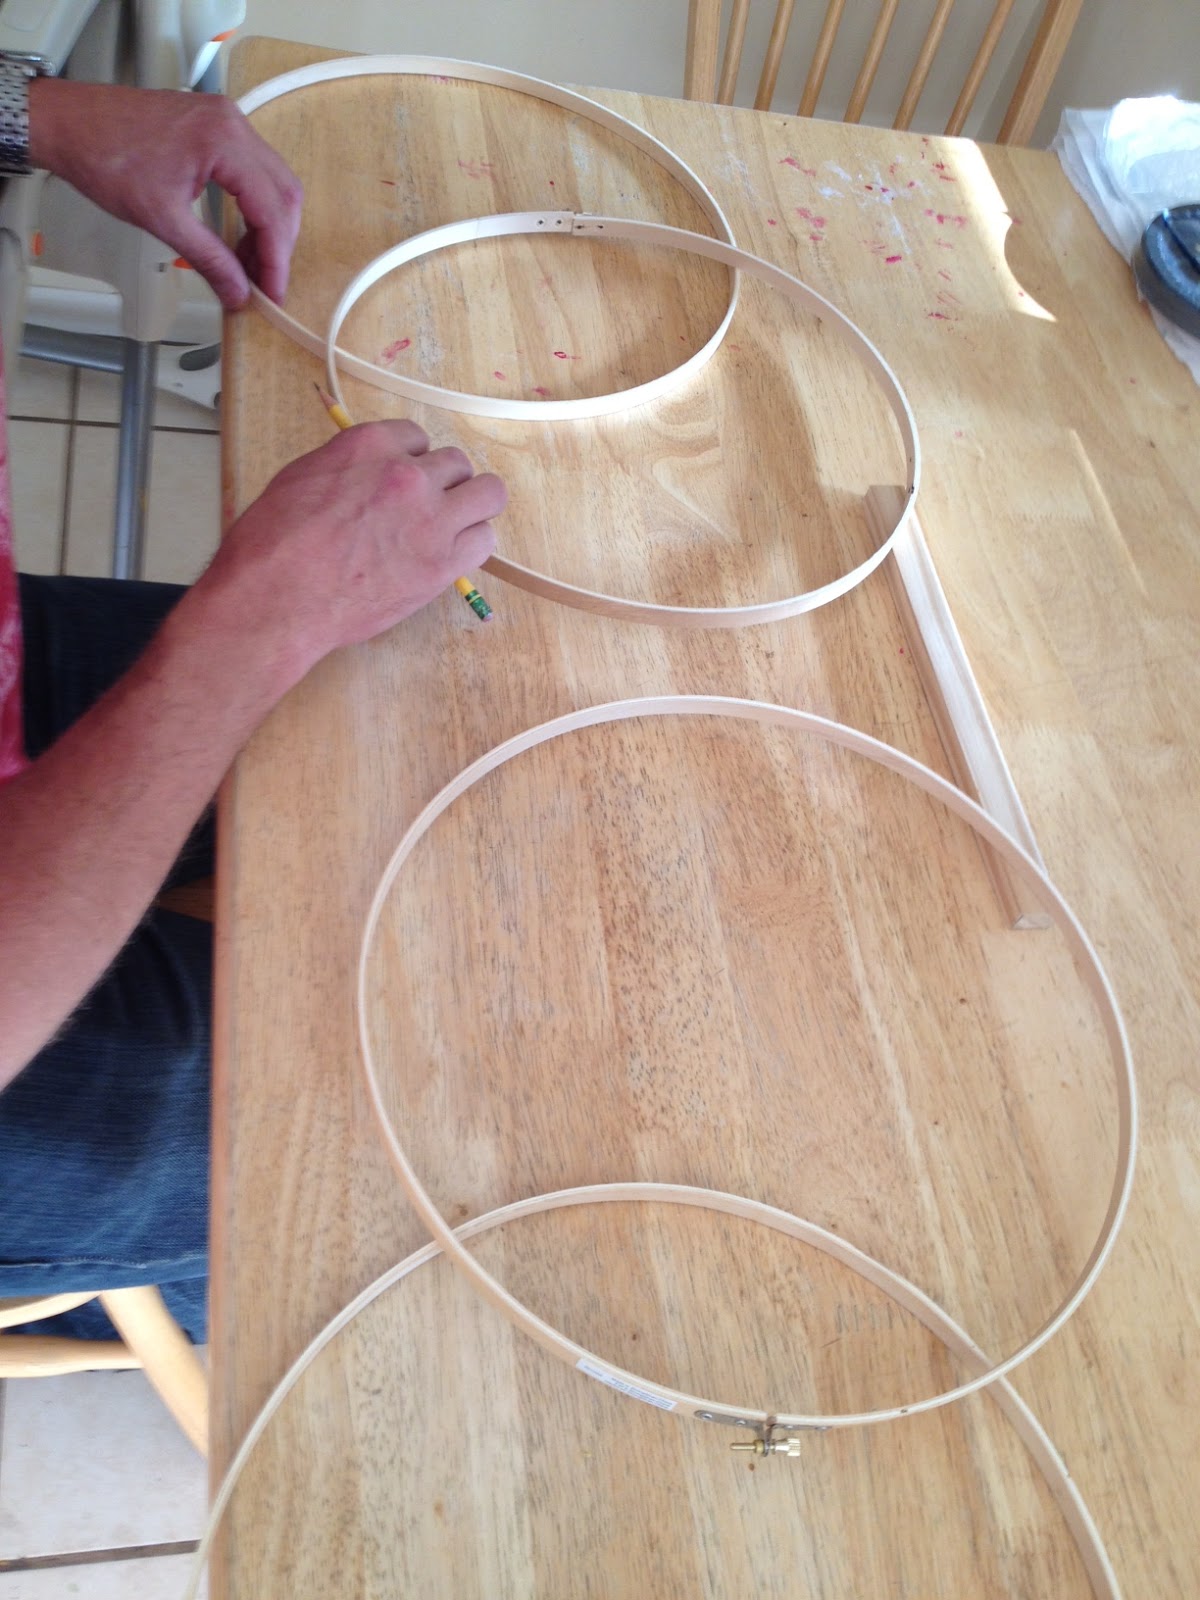
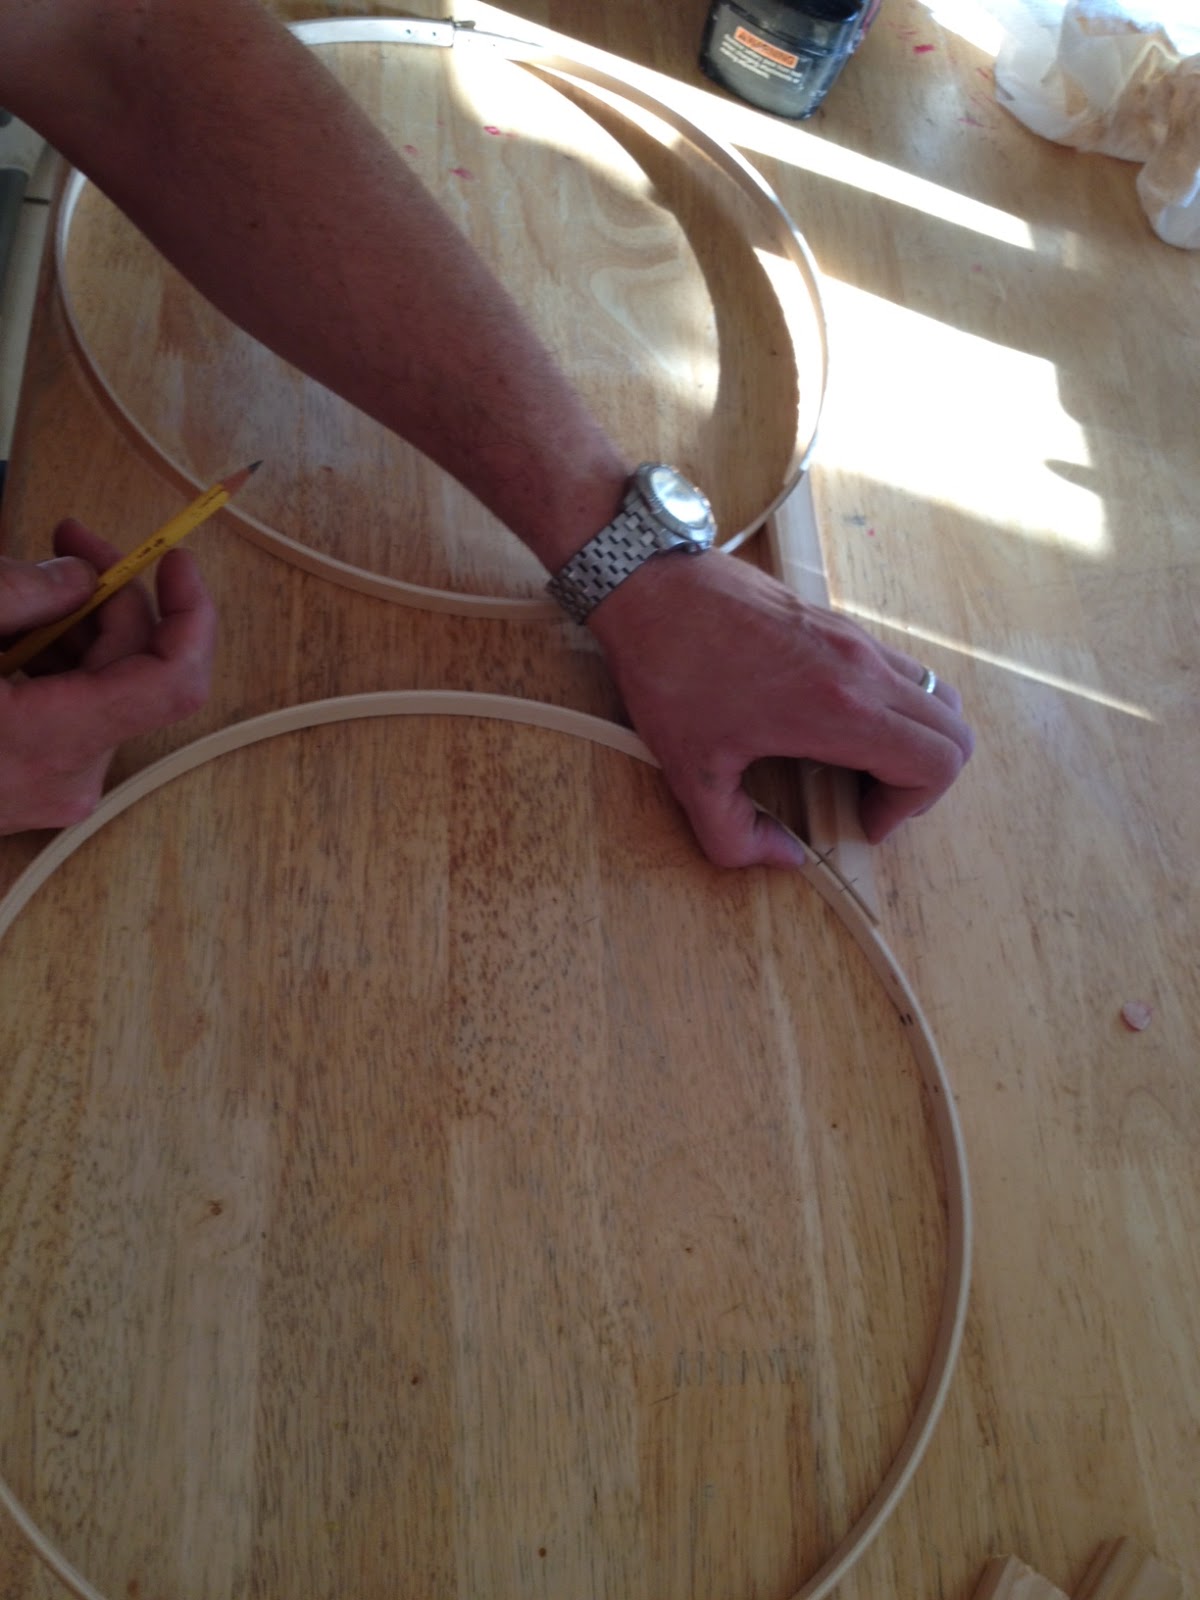
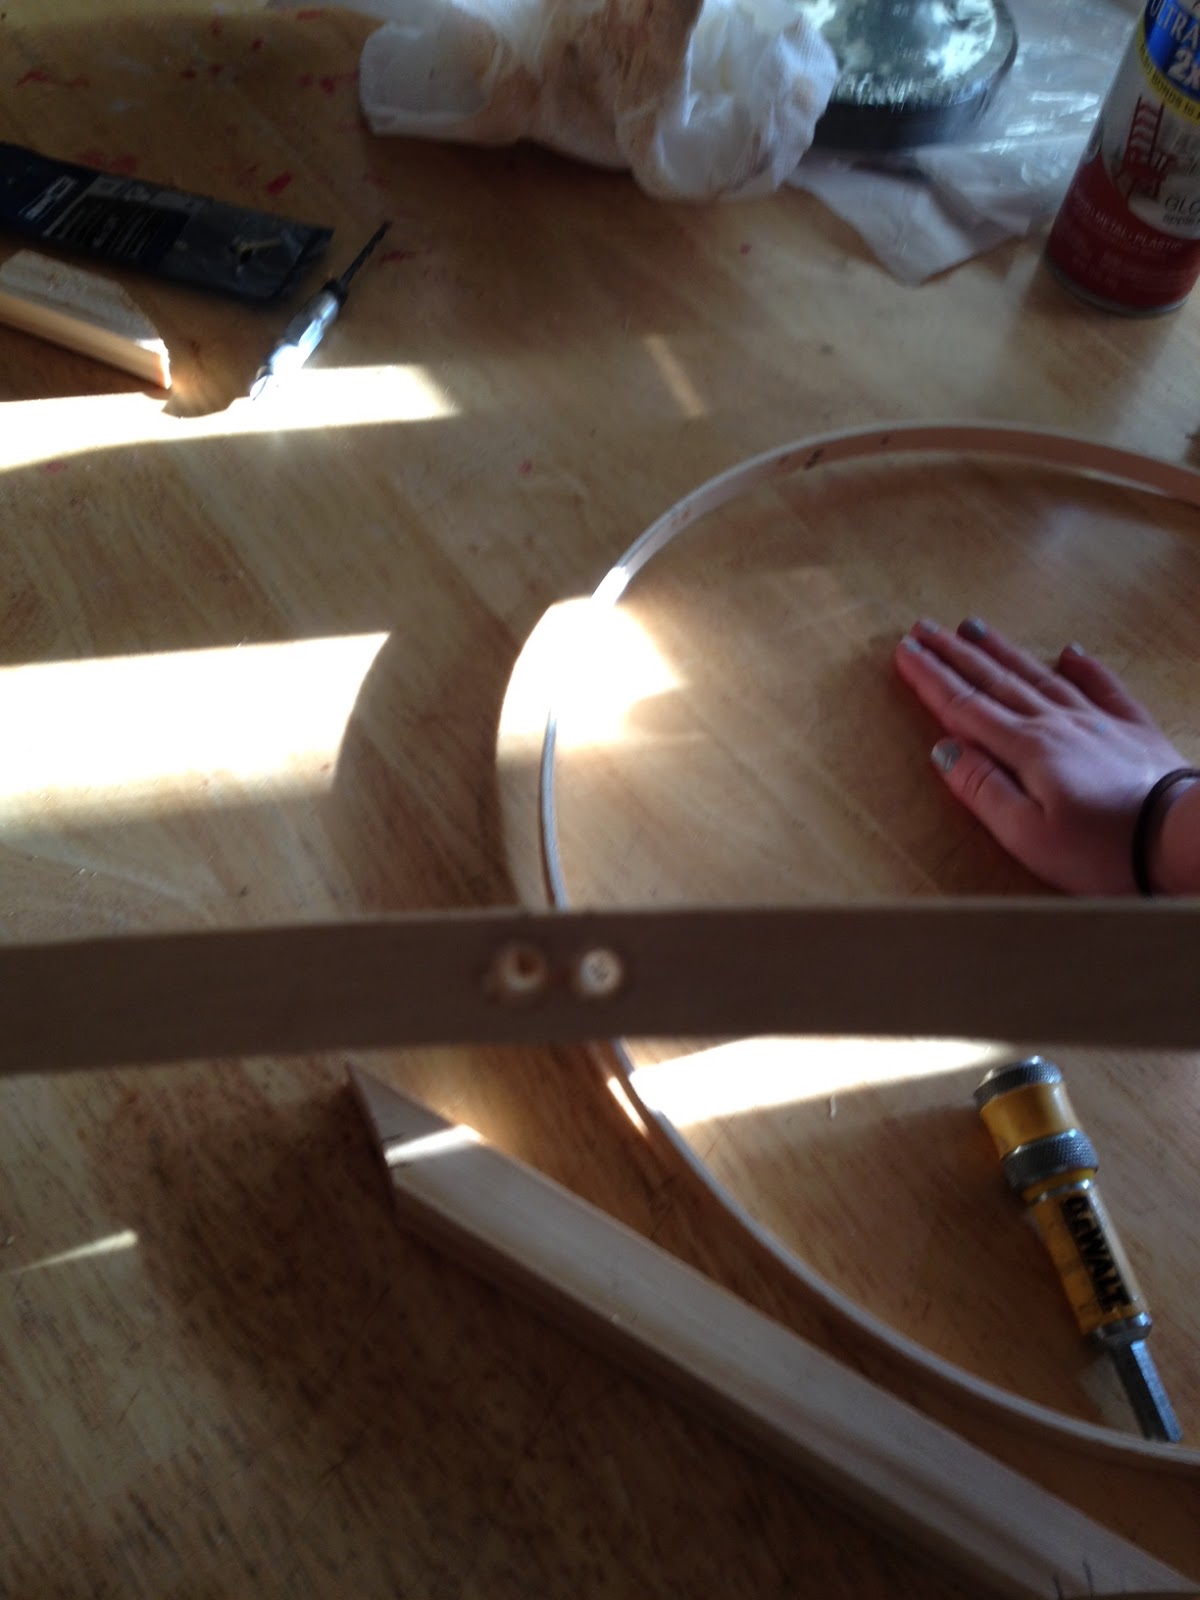
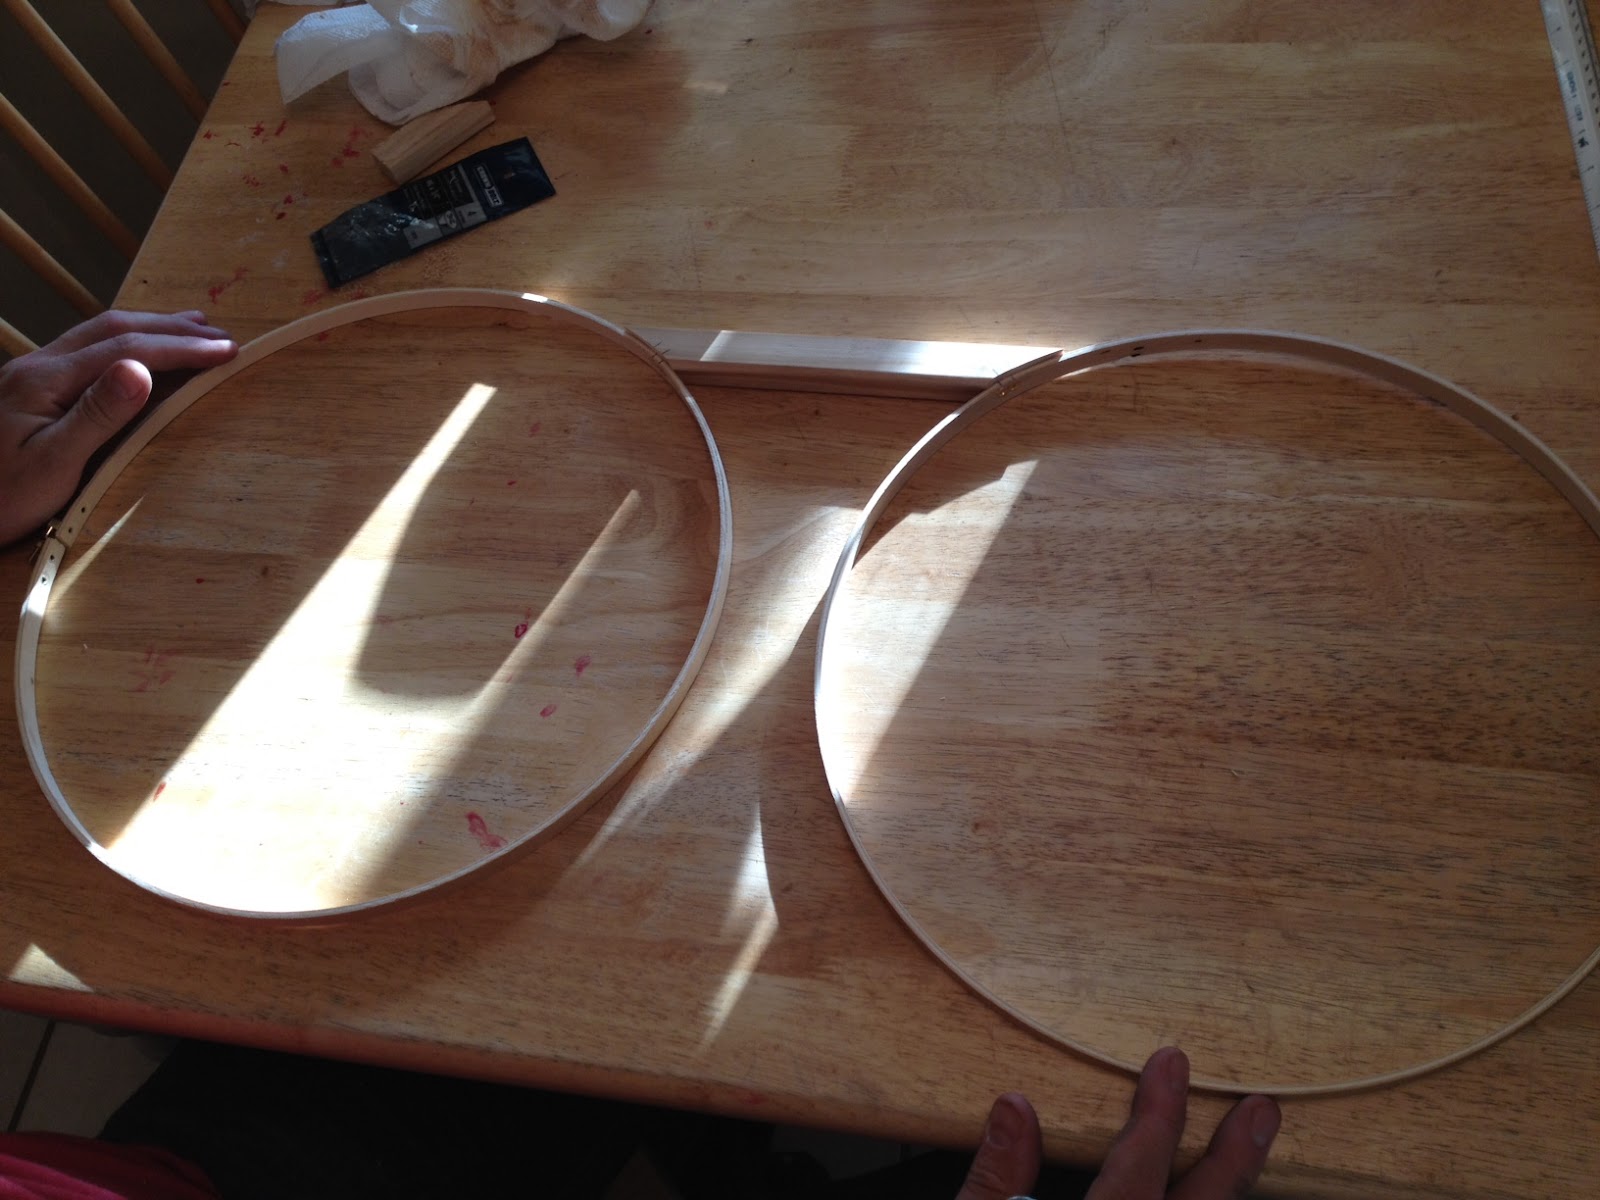
1.  Lay out the hoops and wood piece.  Decide where you want the wood piece to be on the glasses.

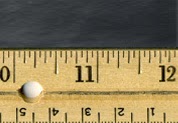
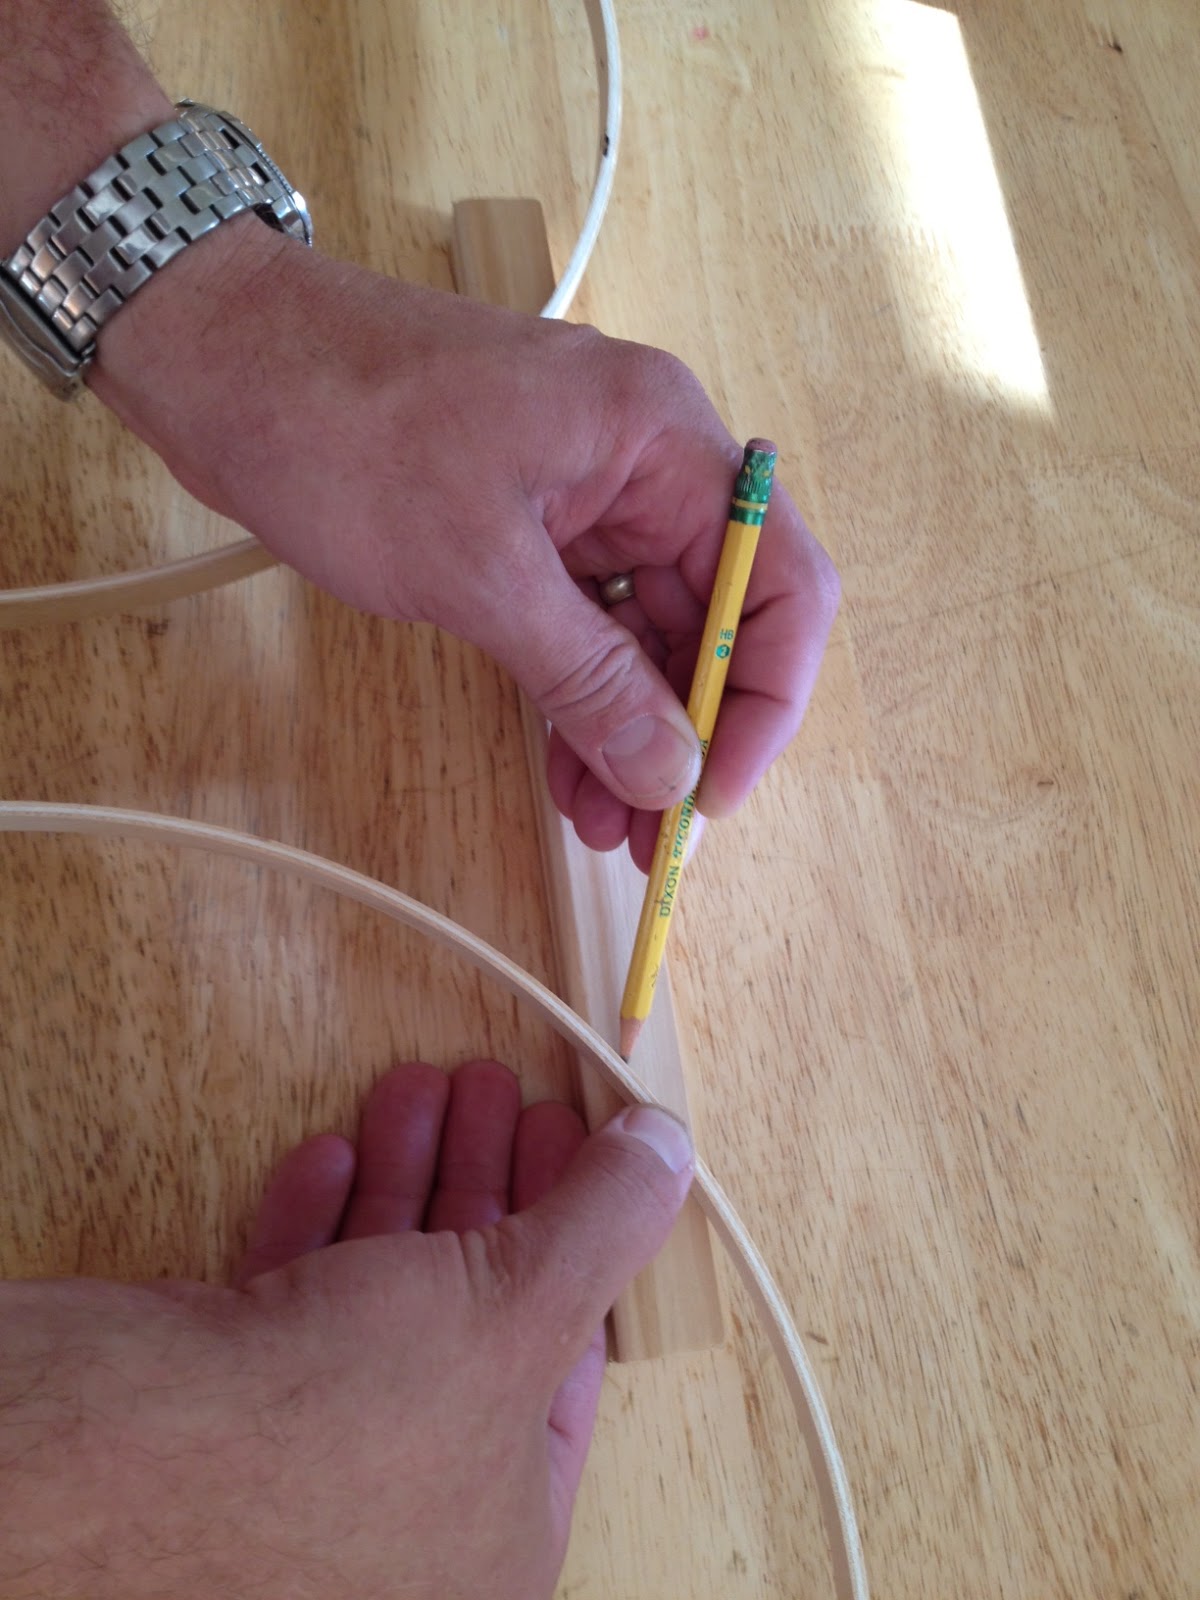
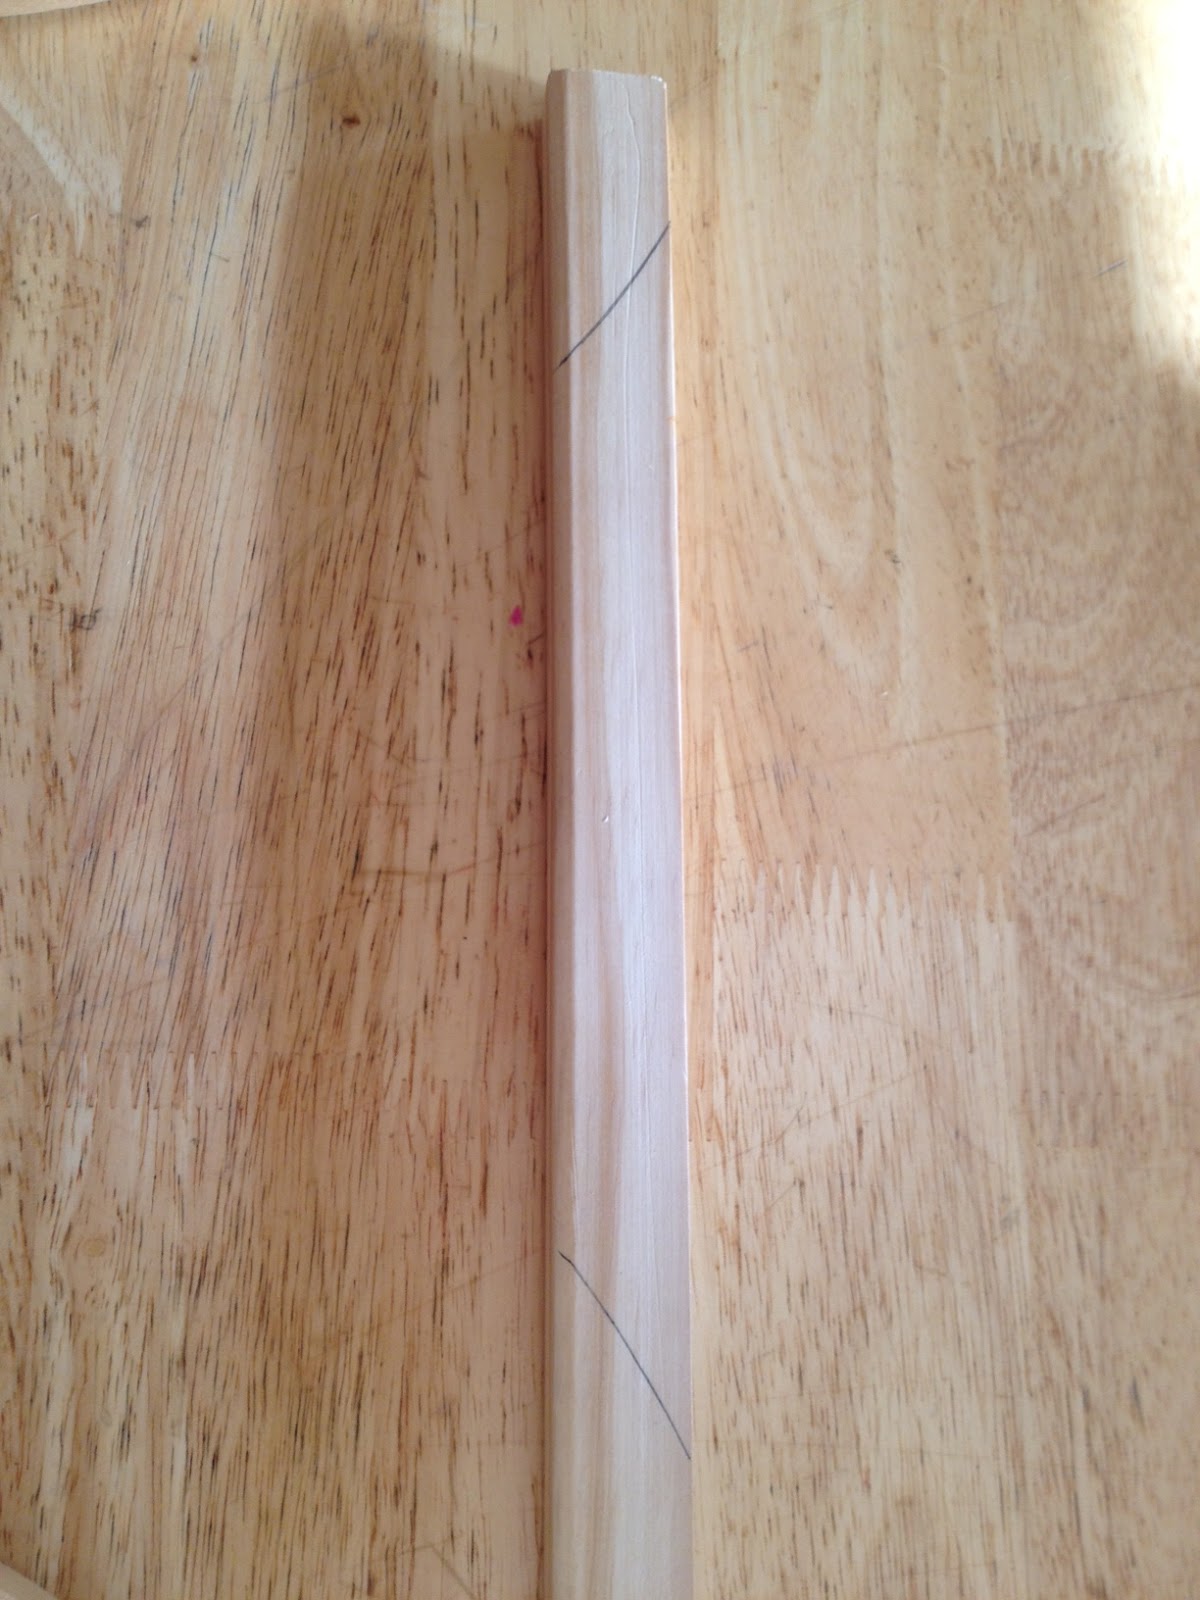
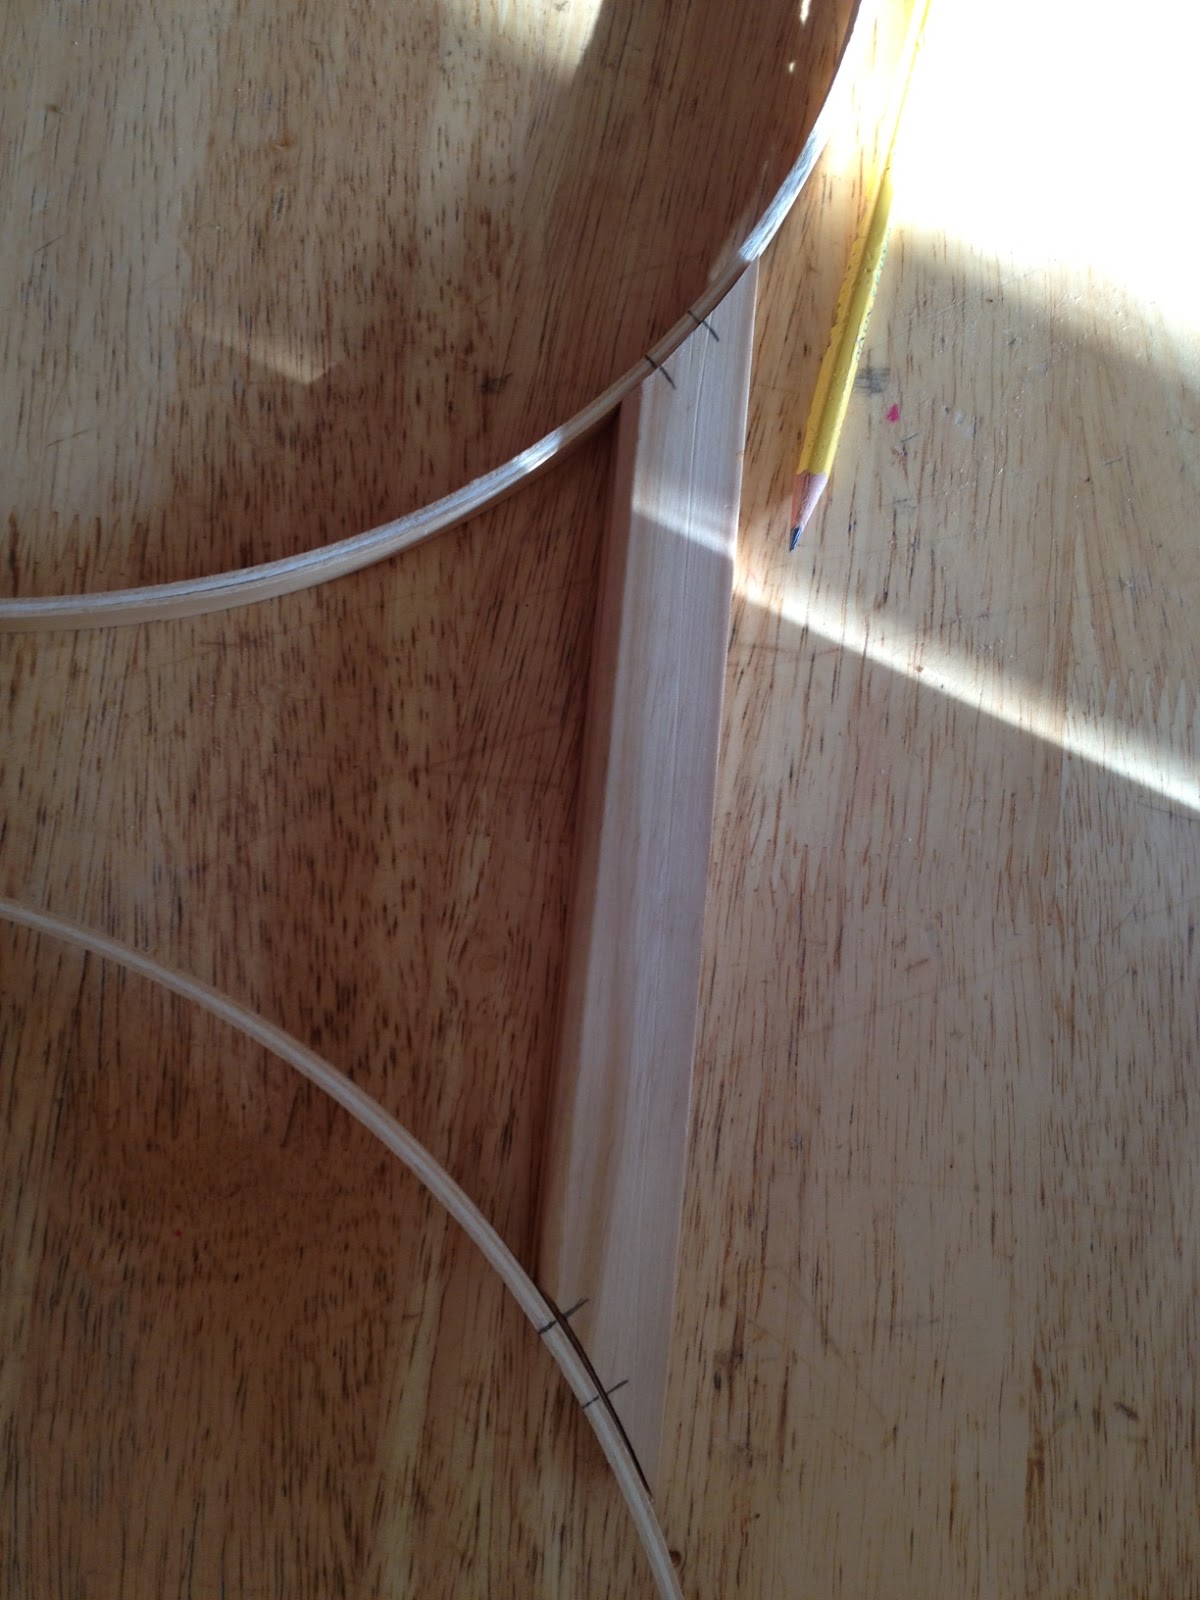
2.  After you find the right spot trace the curve of the hoops onto the wood piece.

3.  Here is what the lines look like after being traced.

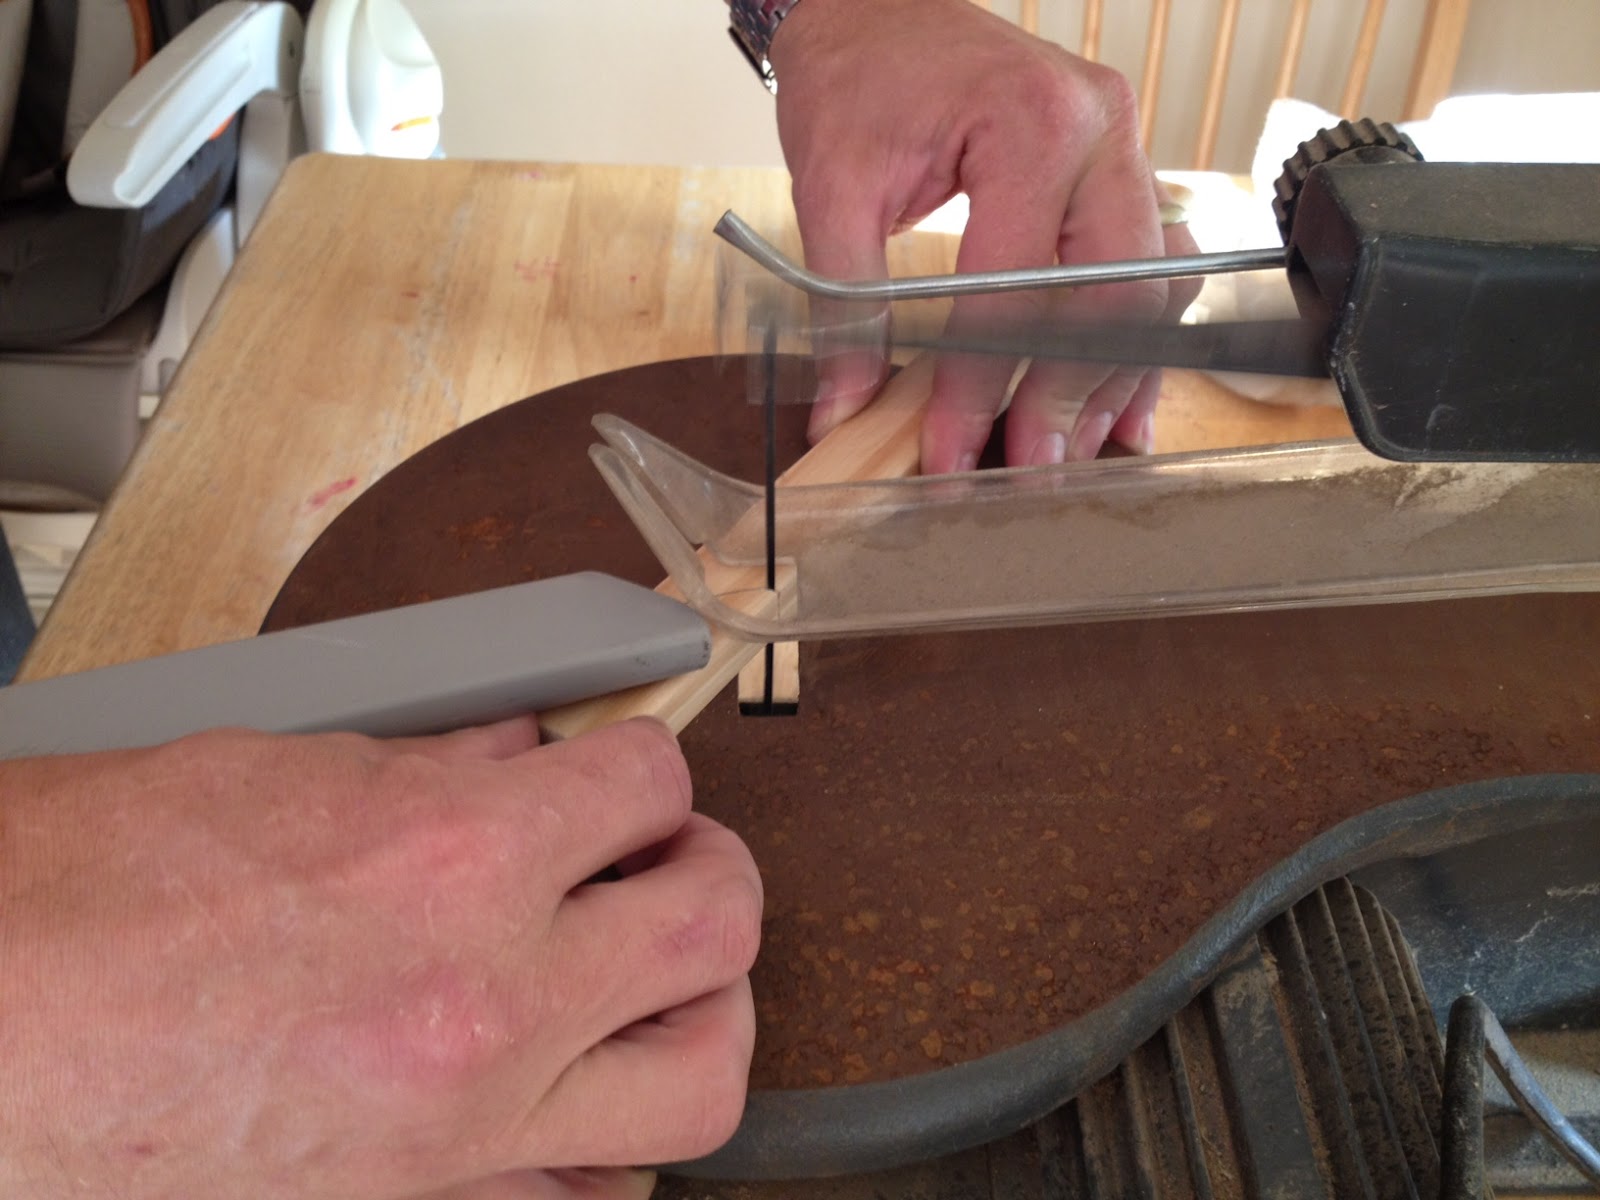
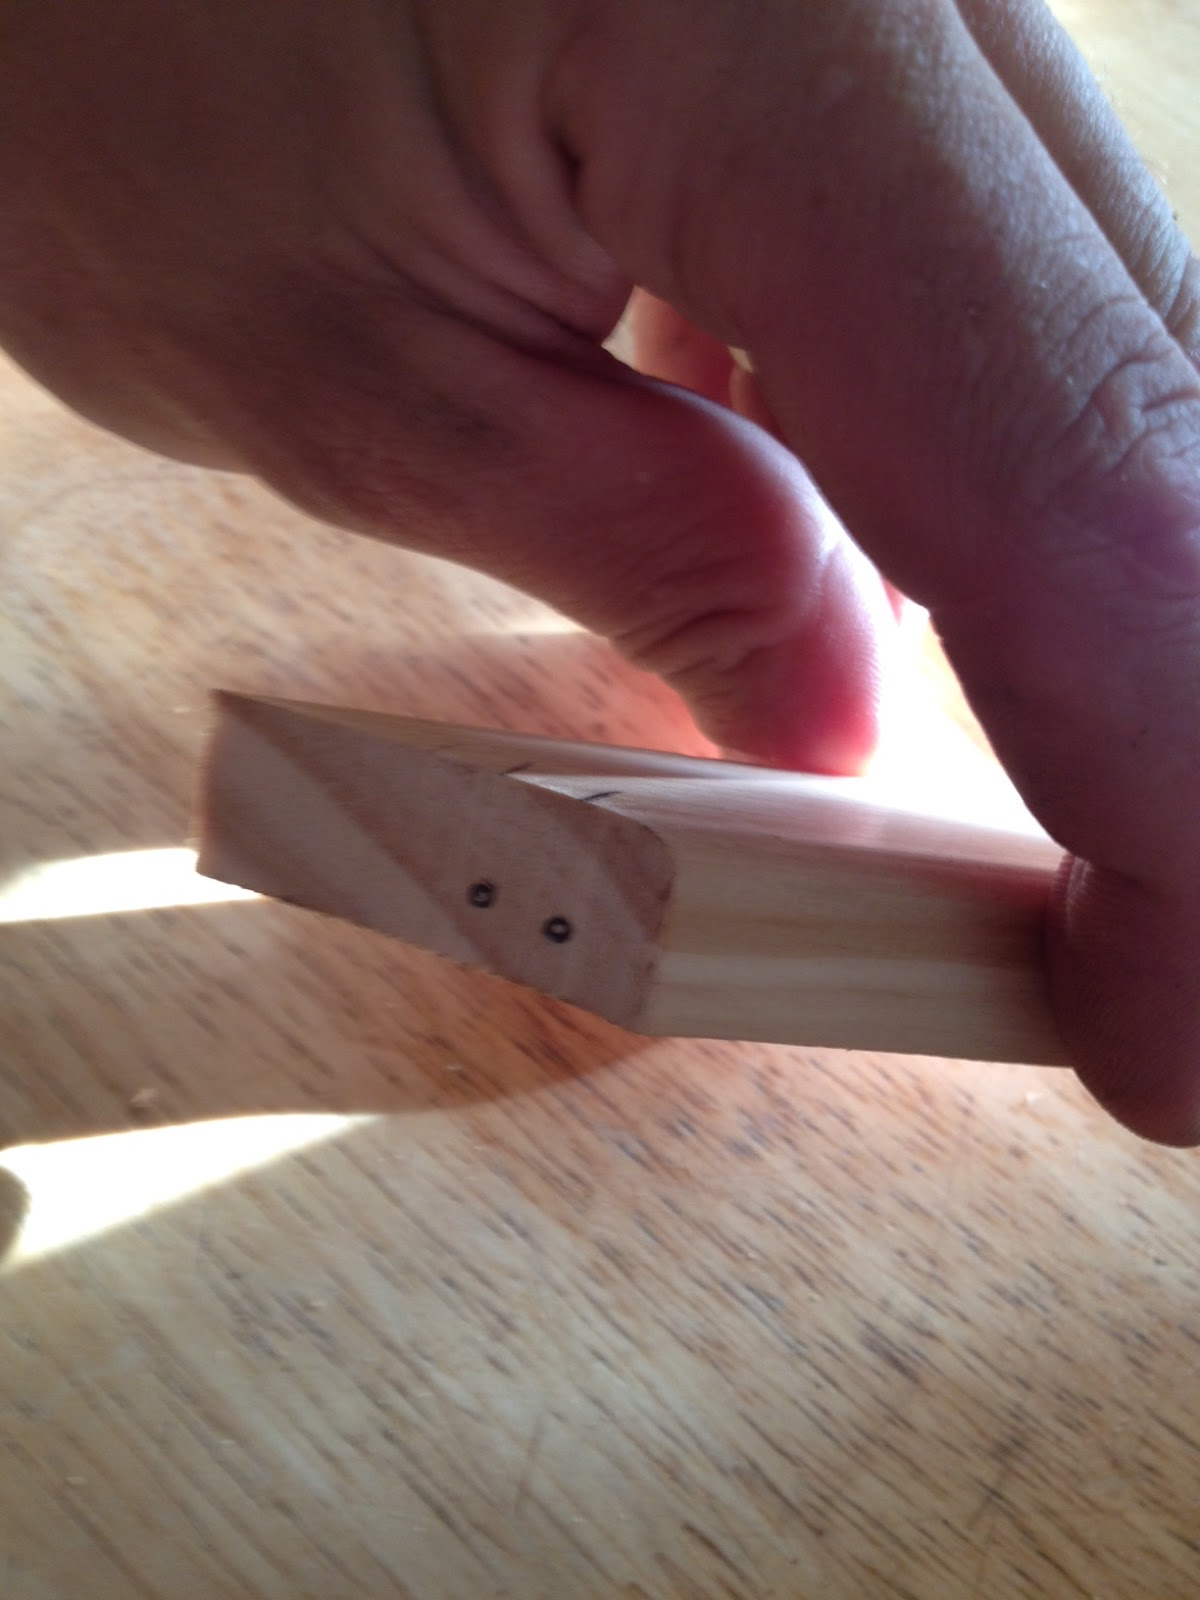
4.  Using a saw cut the wood along your trace marks.  

5.  Here is what the cut piece of wood looks like.

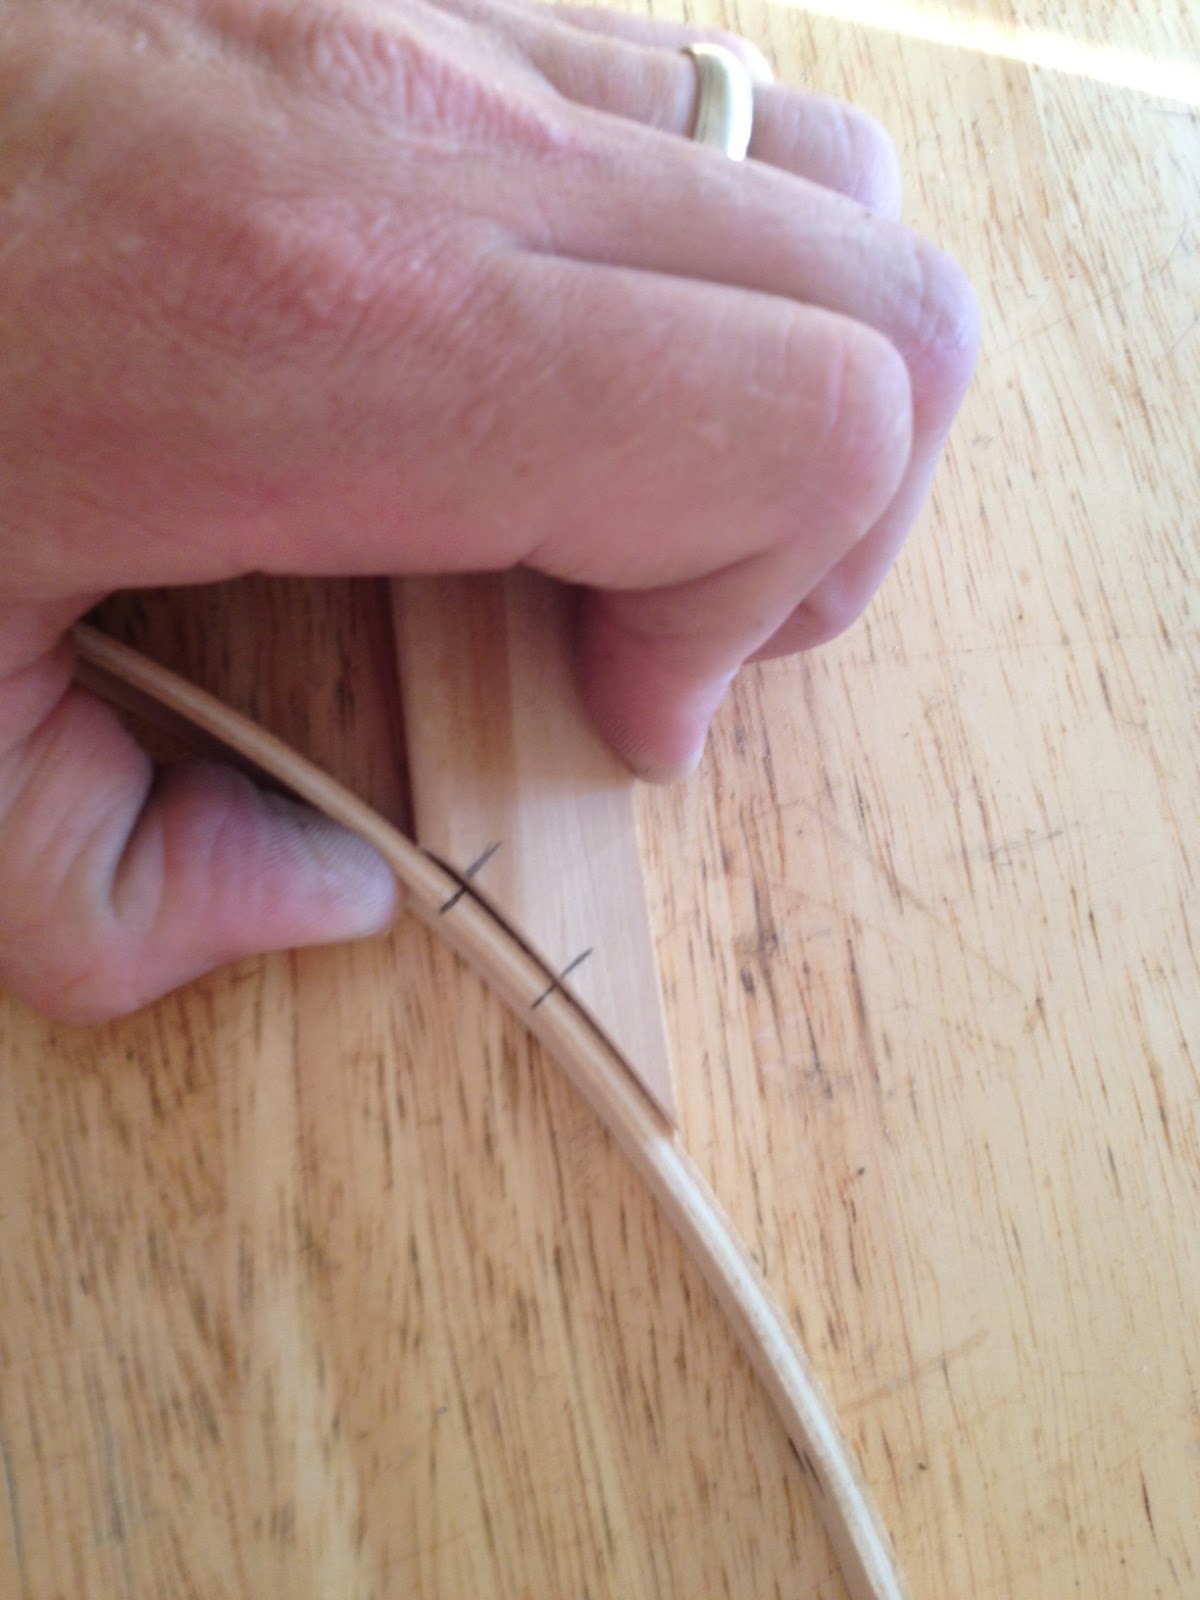
6.  Place the wood piece where it belongs between the outer hoops.  Mark where you want to place screws being careful to note the screw size.  Oh, and if you want to skip the screws you can use gorilla glue or wood glue to attach the wood piece.  You'll just have to let it sit overnight after gluing before you can finish the project.

7.  Here are some close ups of the marks.


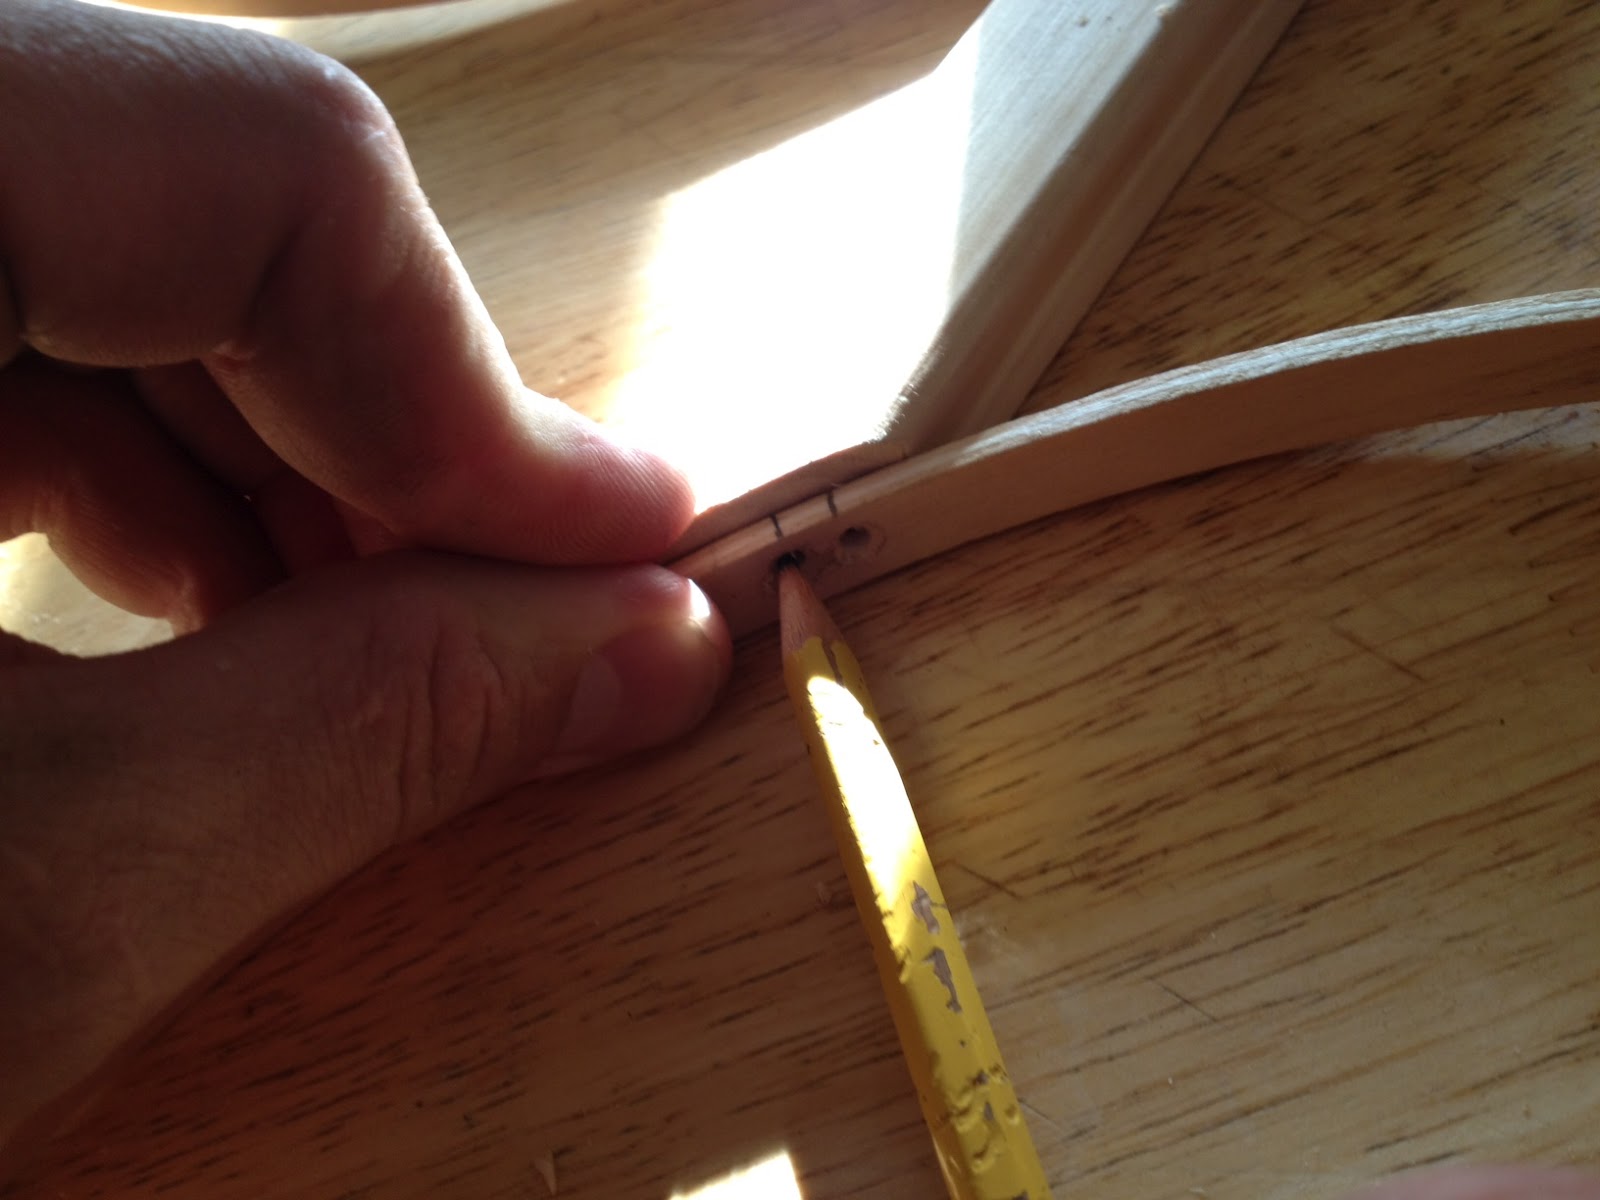
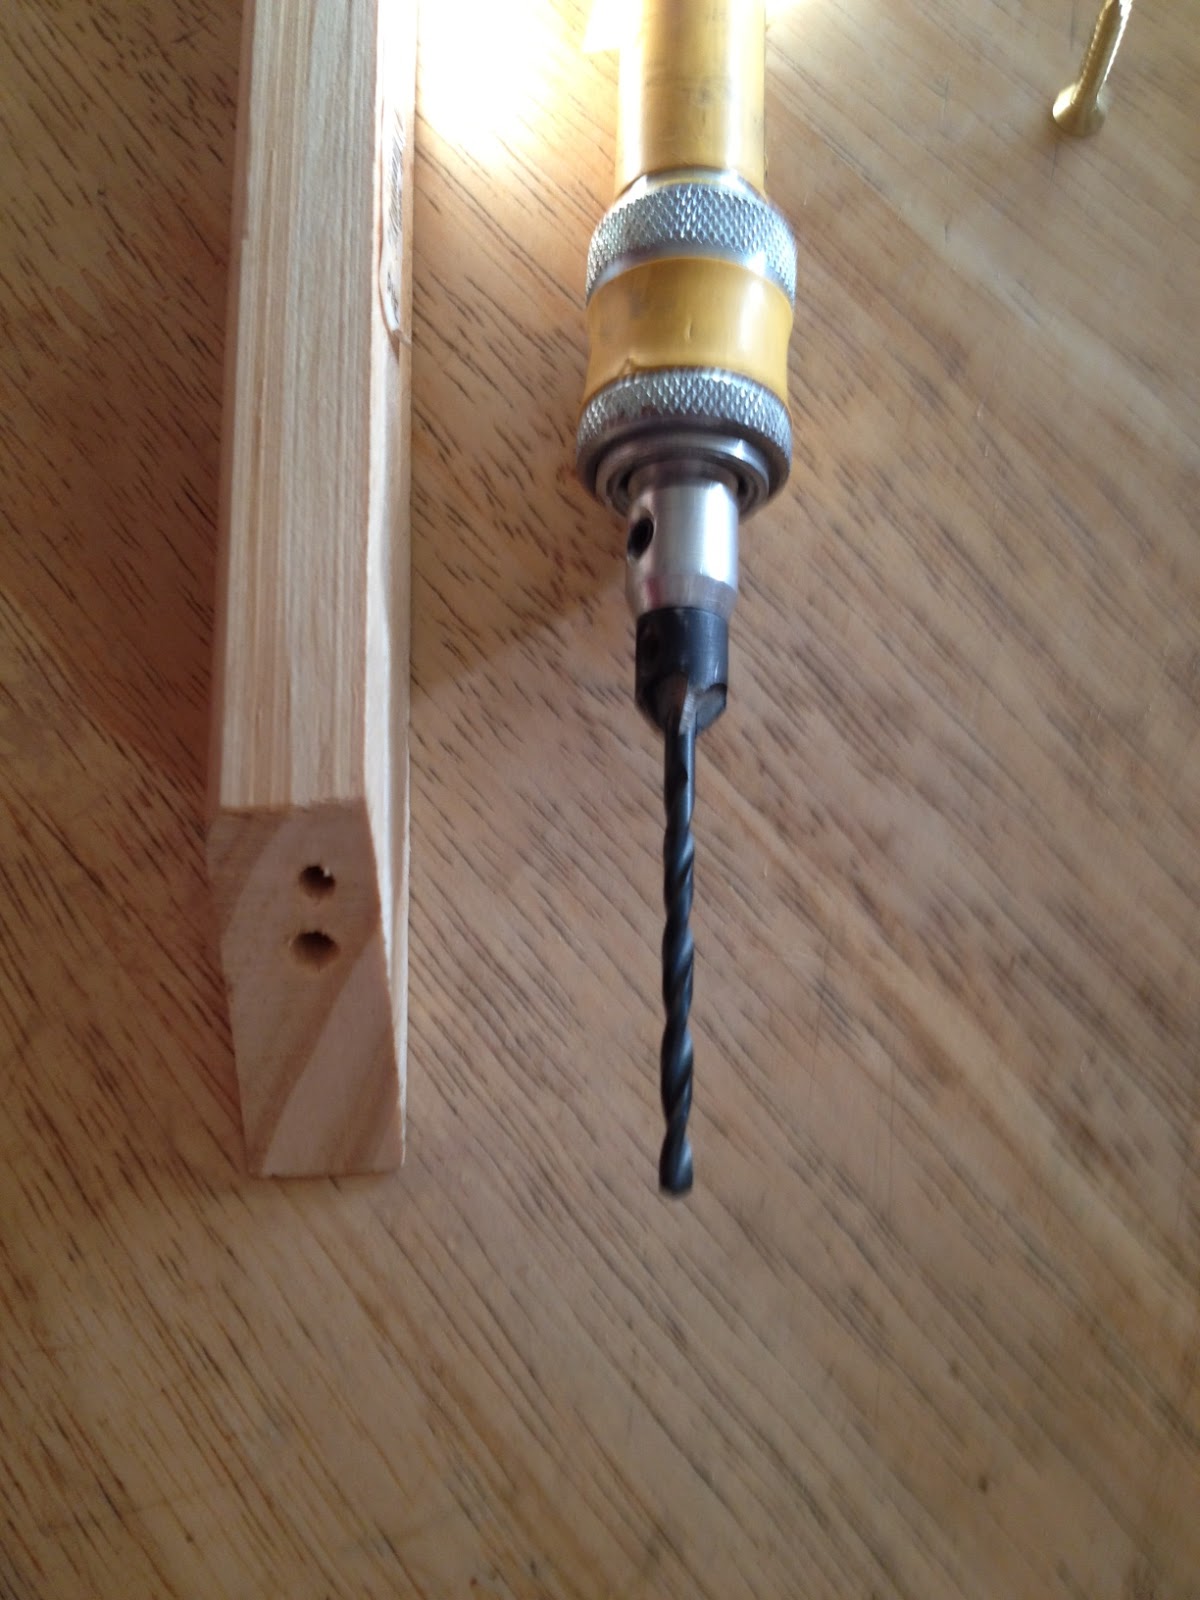
8.  Make pilot holes in the hoop to guide you.

9.  Line up the pilot holes with the wood piece and draw marks to guide you.

10.  Here is a shot of the marks.

11.  Screw holes in the wood piece using the pencil guide marks.

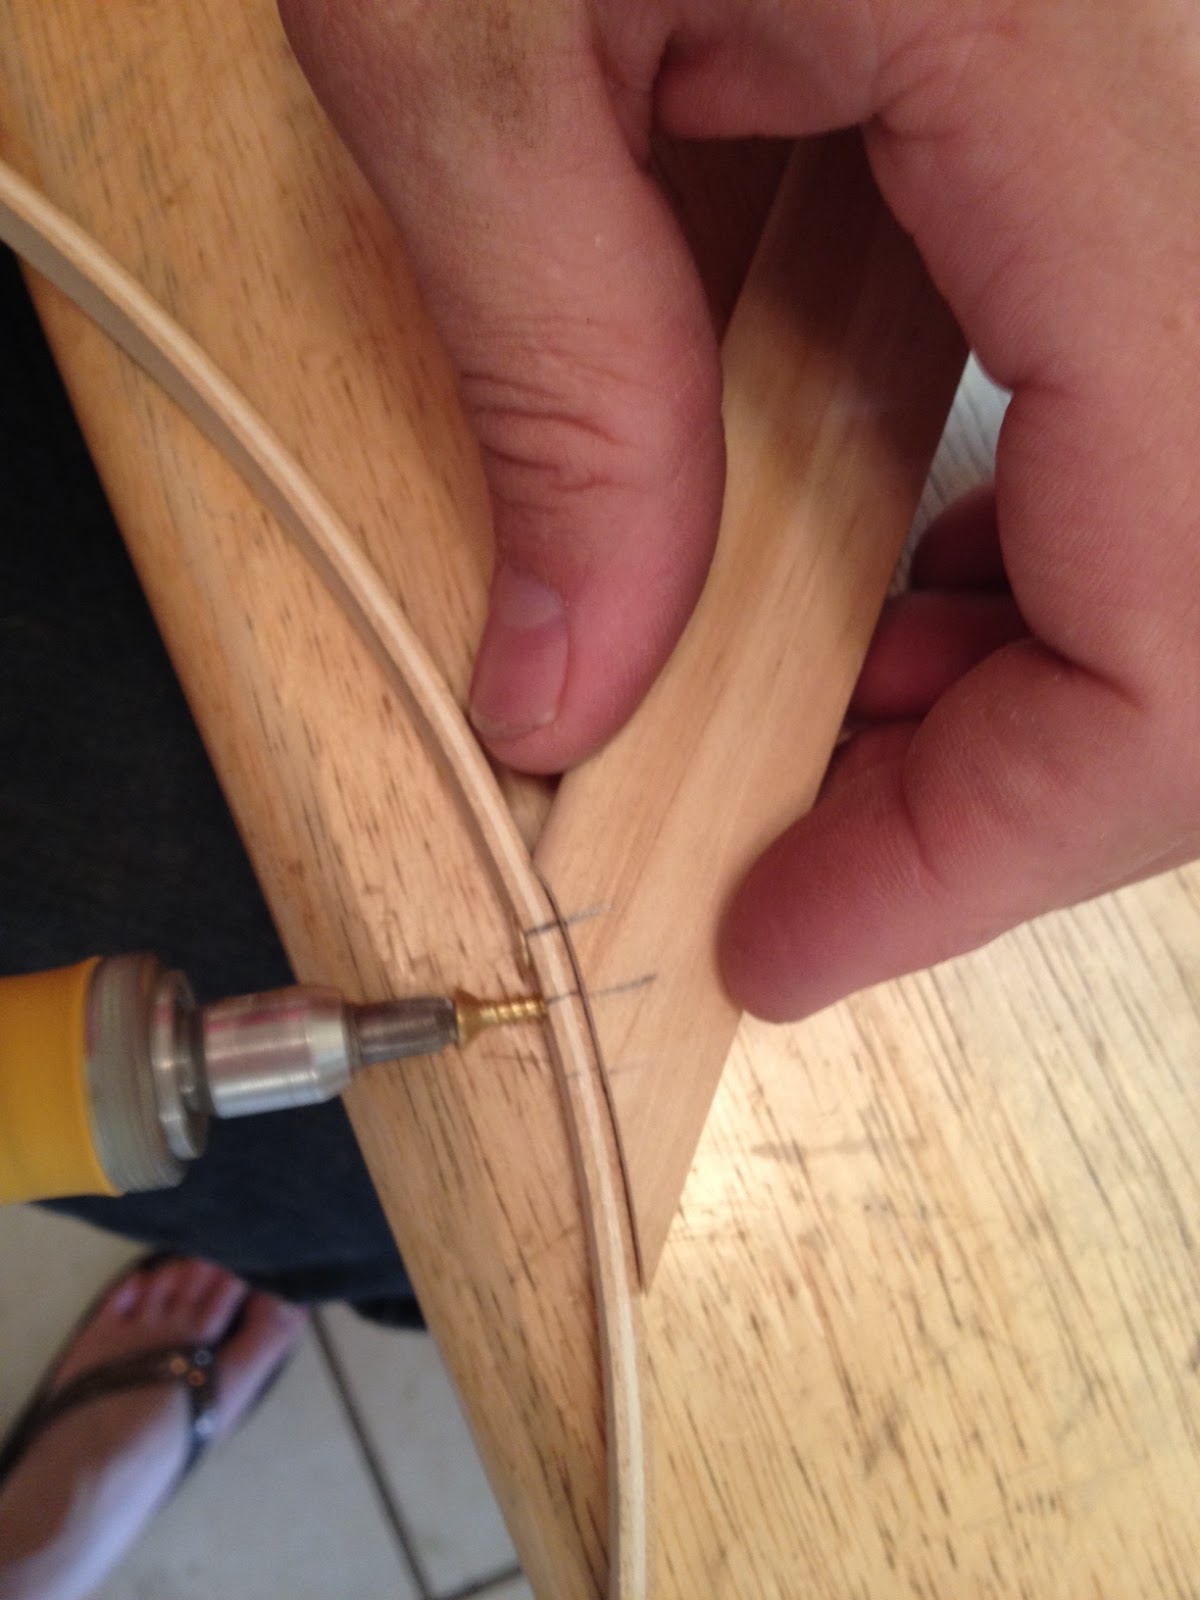
12.  Screw the screws through the pilot holes attaching the outer hoops to the wood piece.

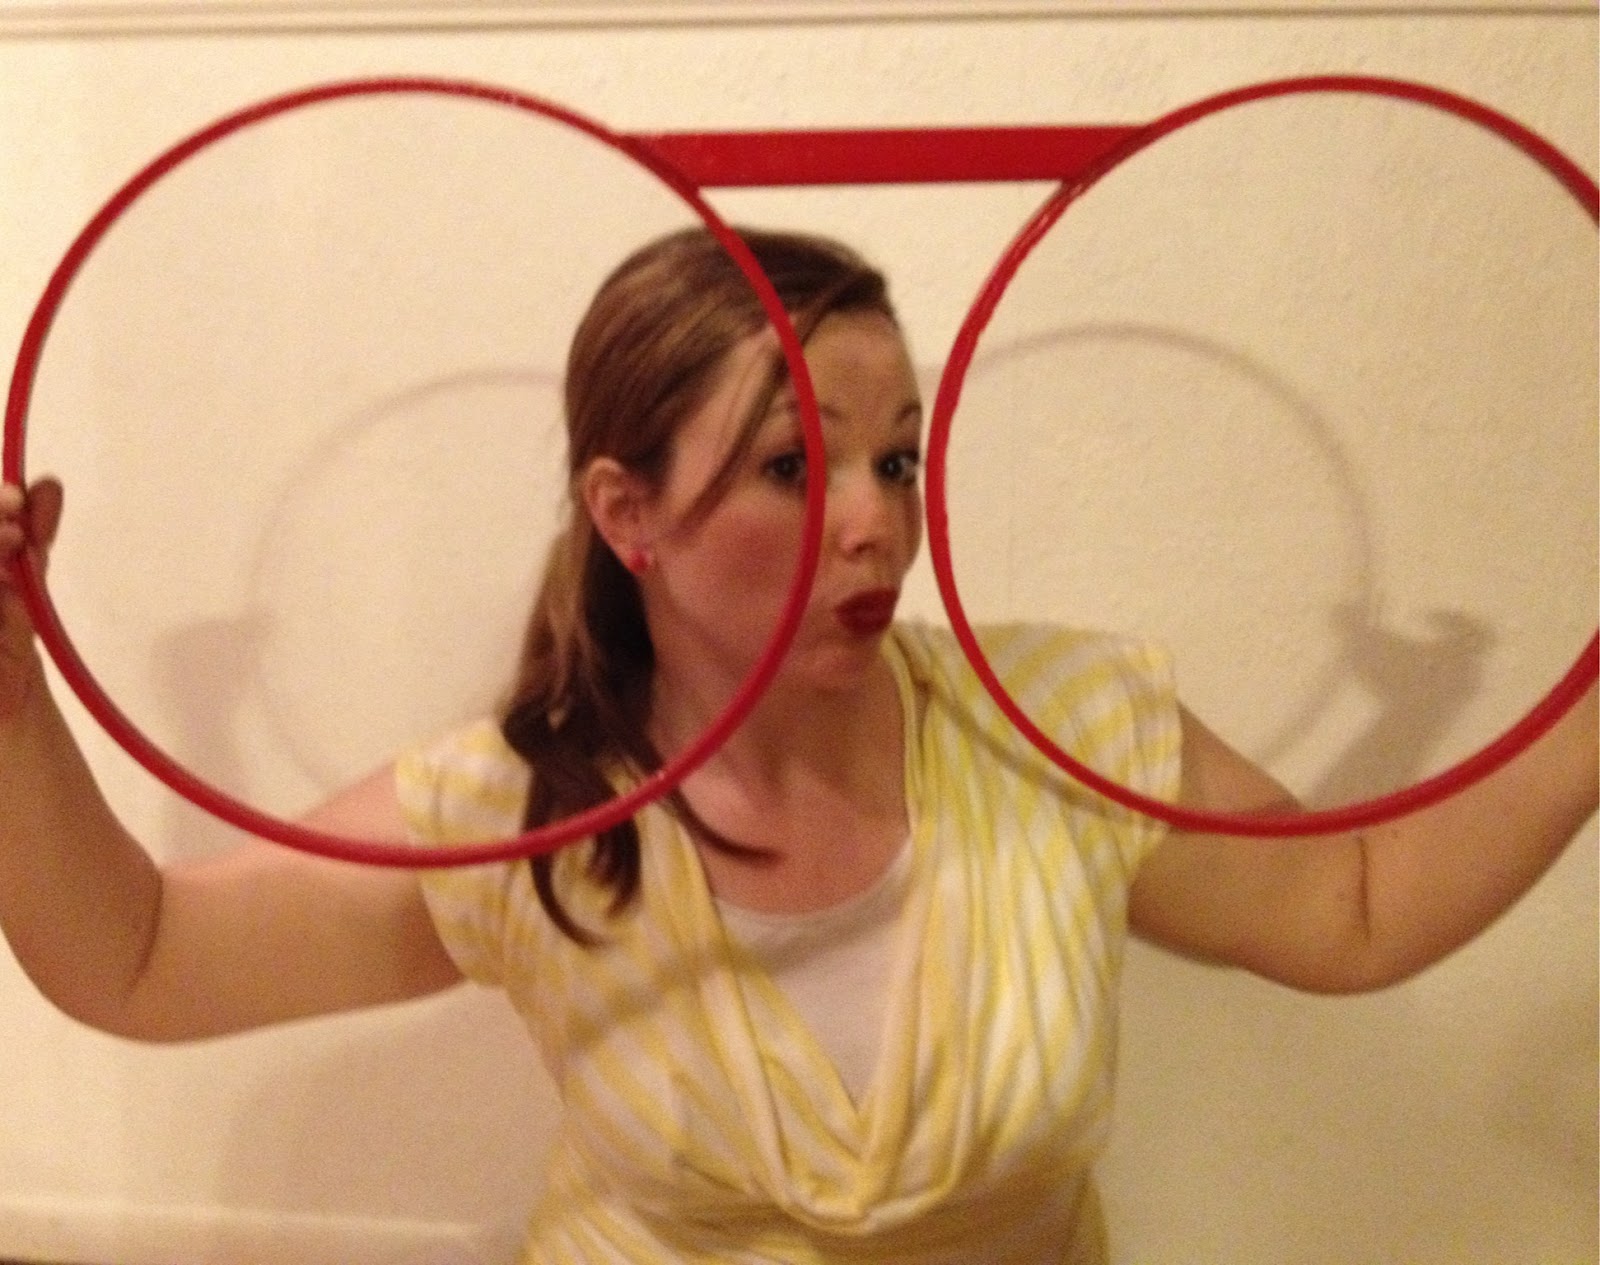
13.  The glasses frames are now assembled!

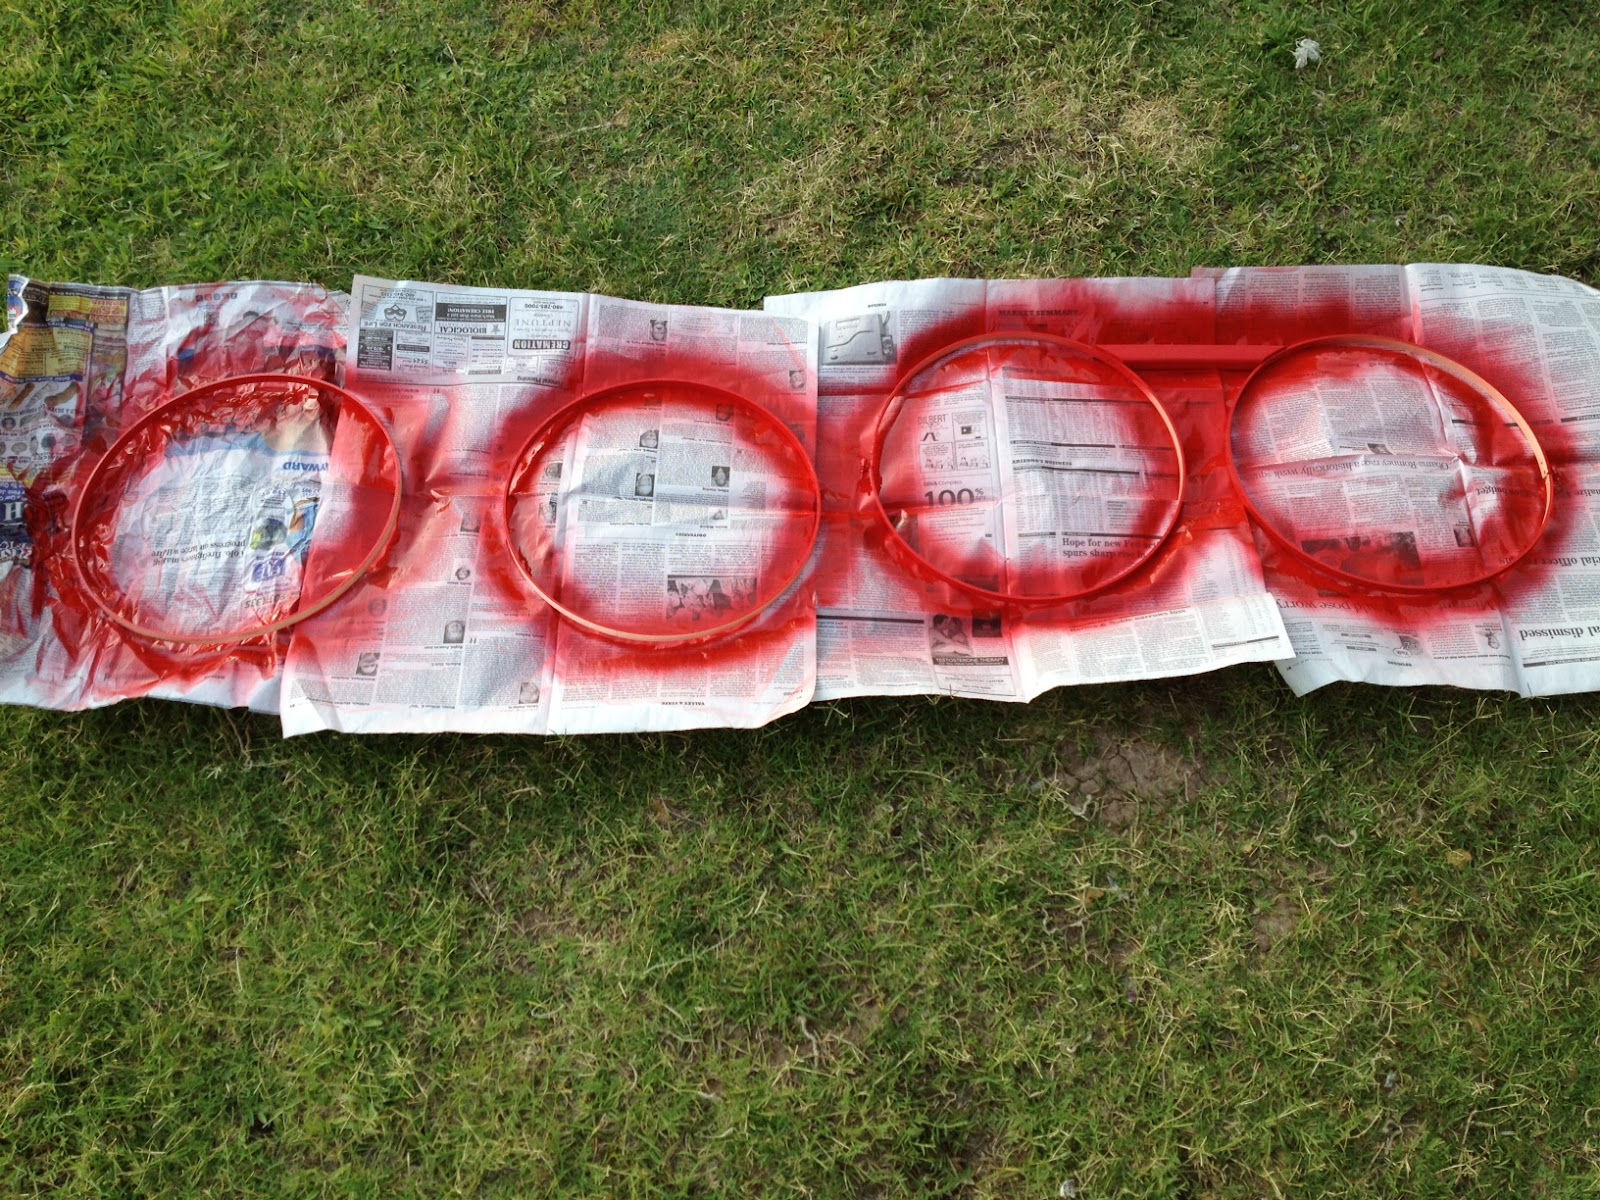
14.  Spray paint all the glasses pieces and let dry.

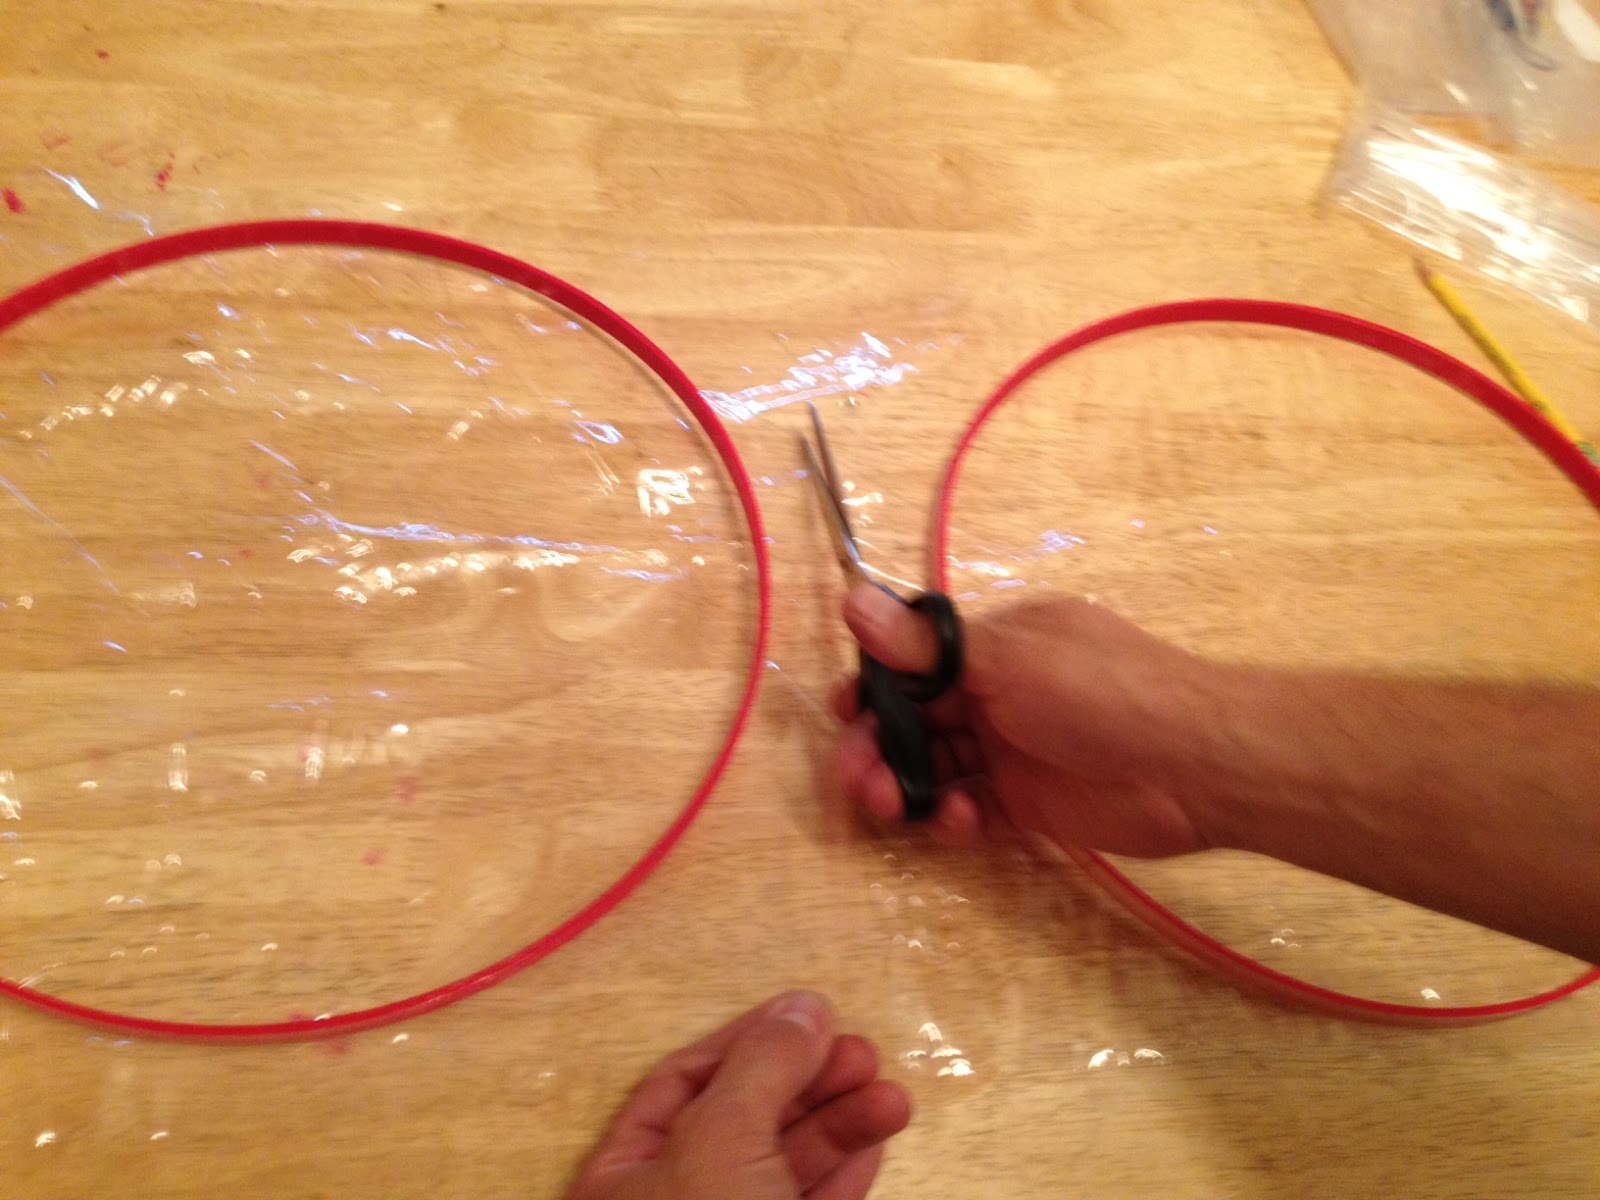
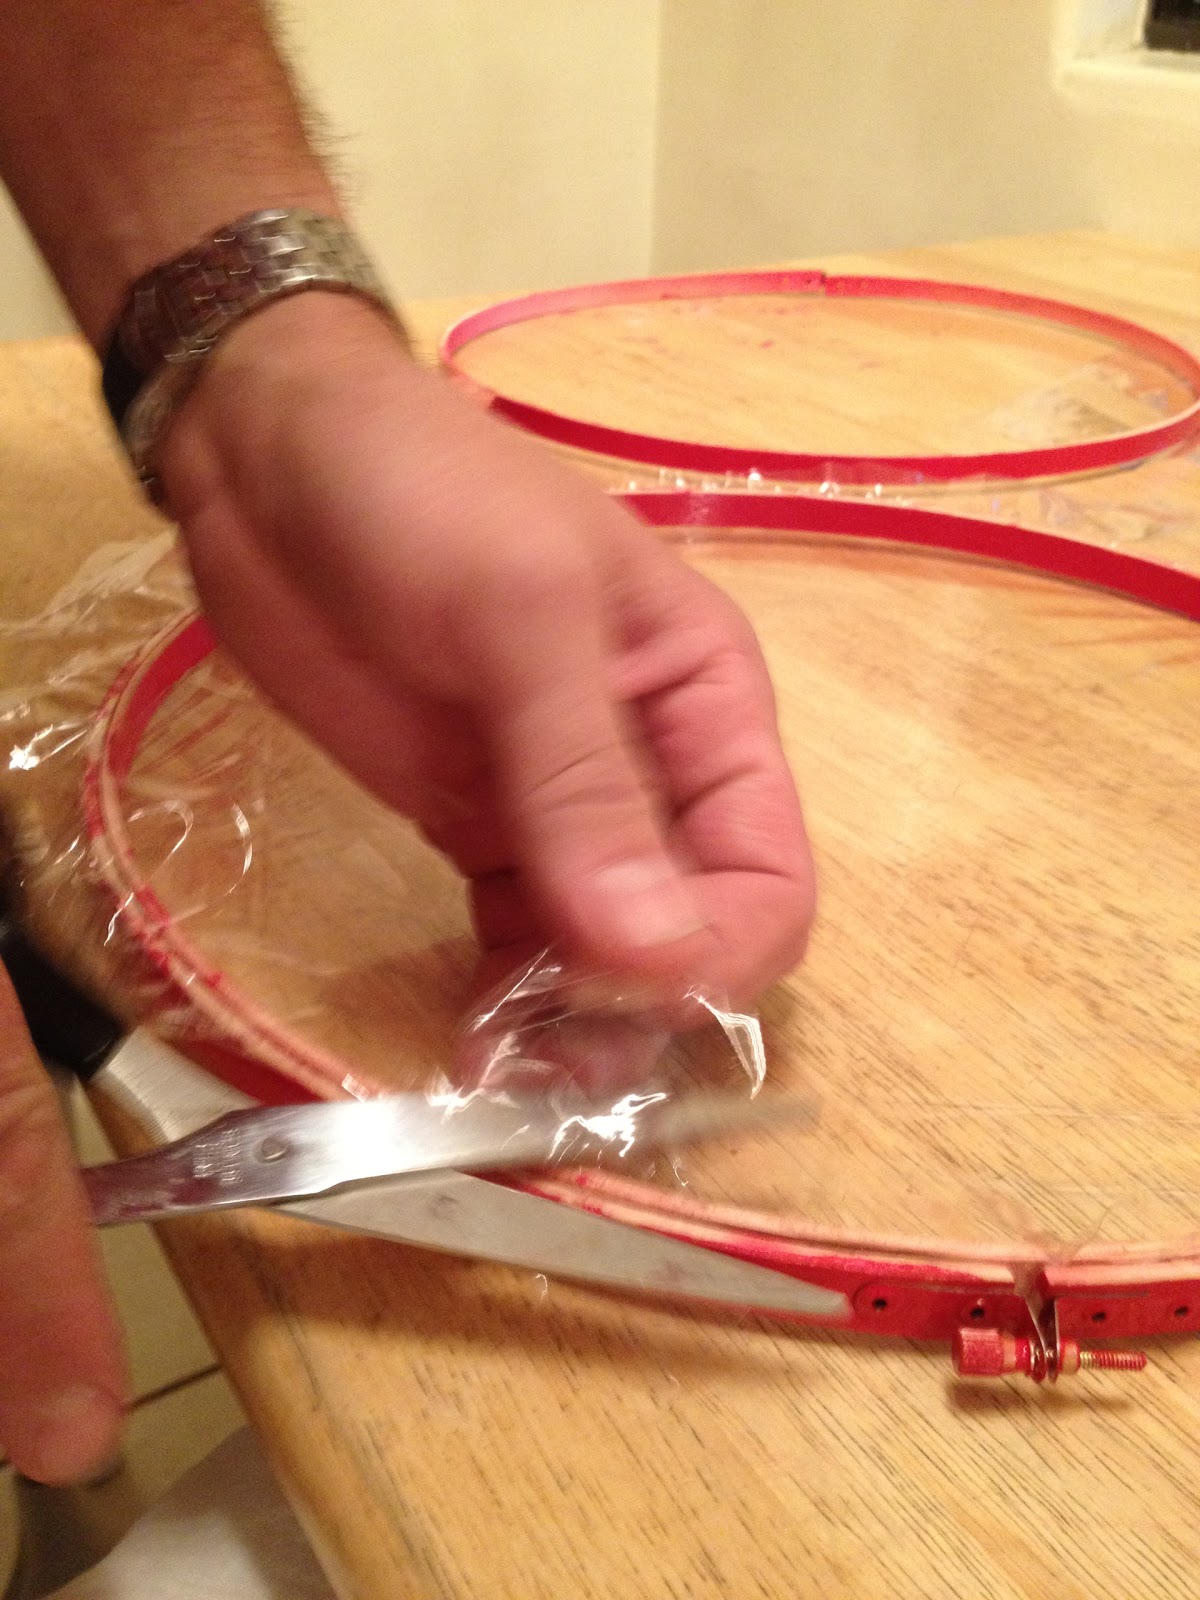
15.  Lay out the vinyl piece.  Cut the vinyl in two.

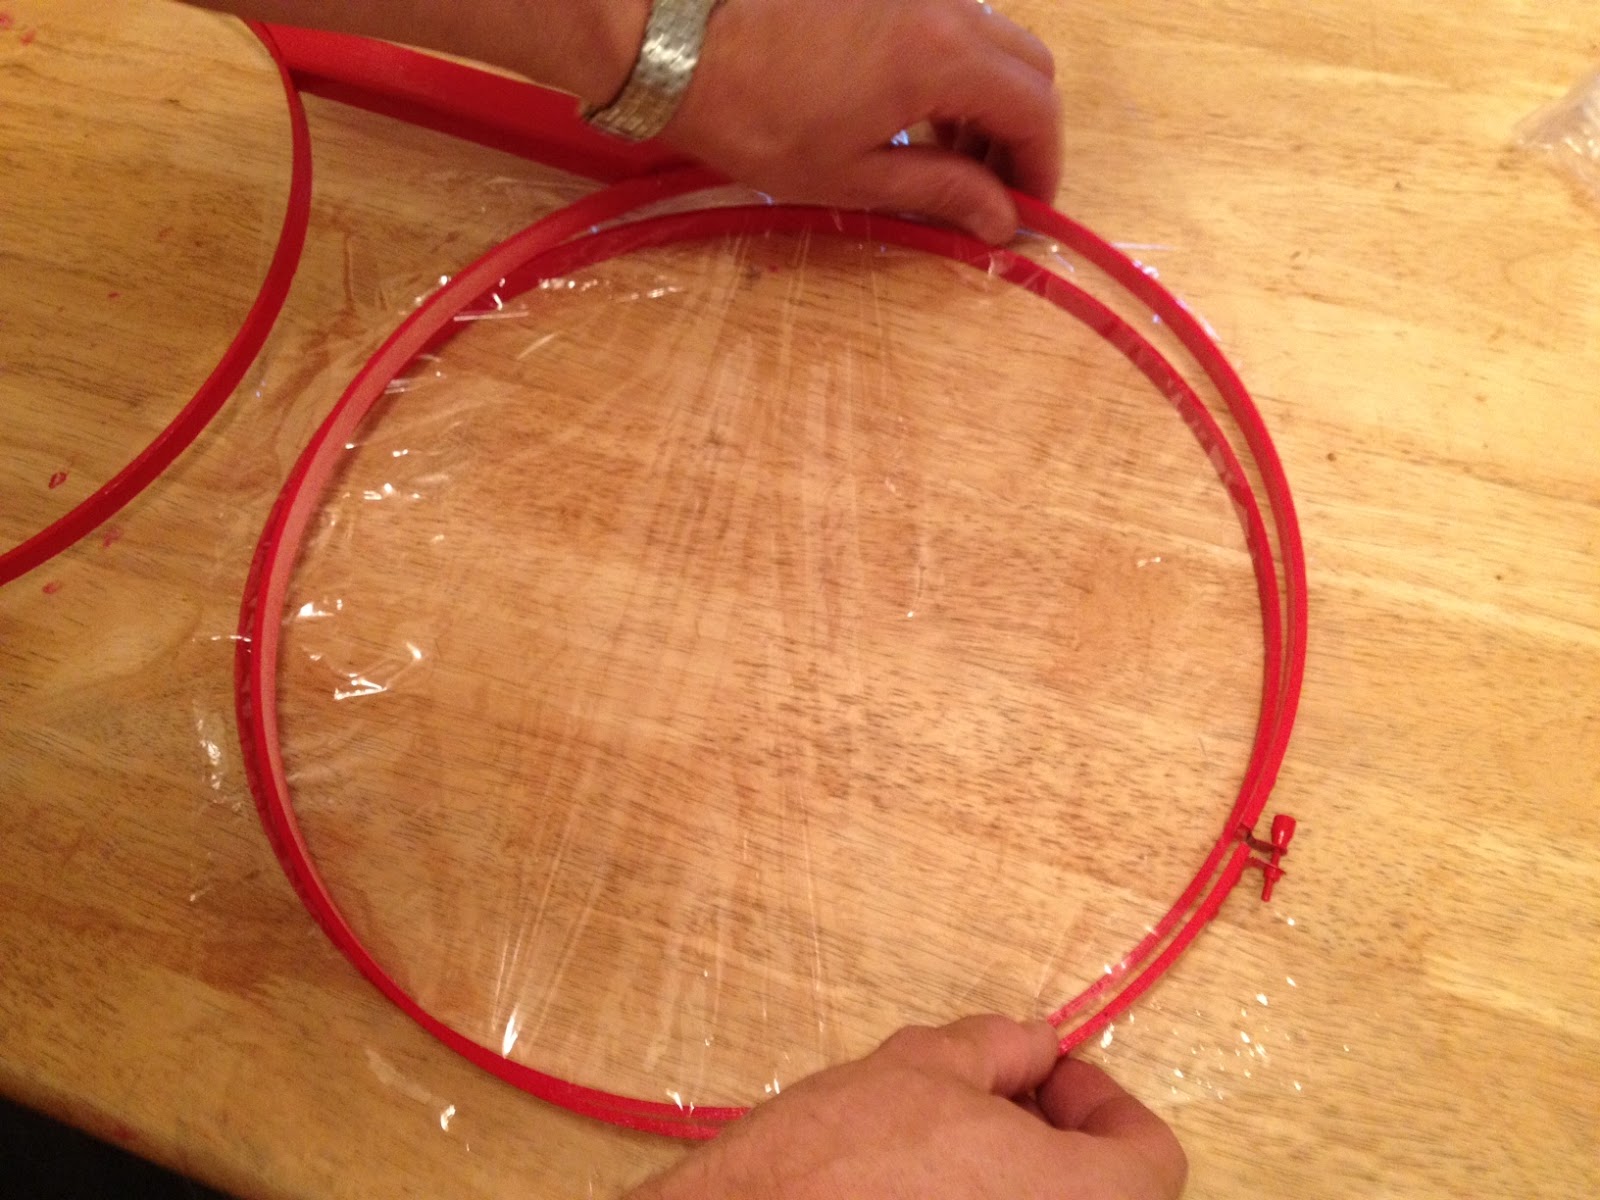
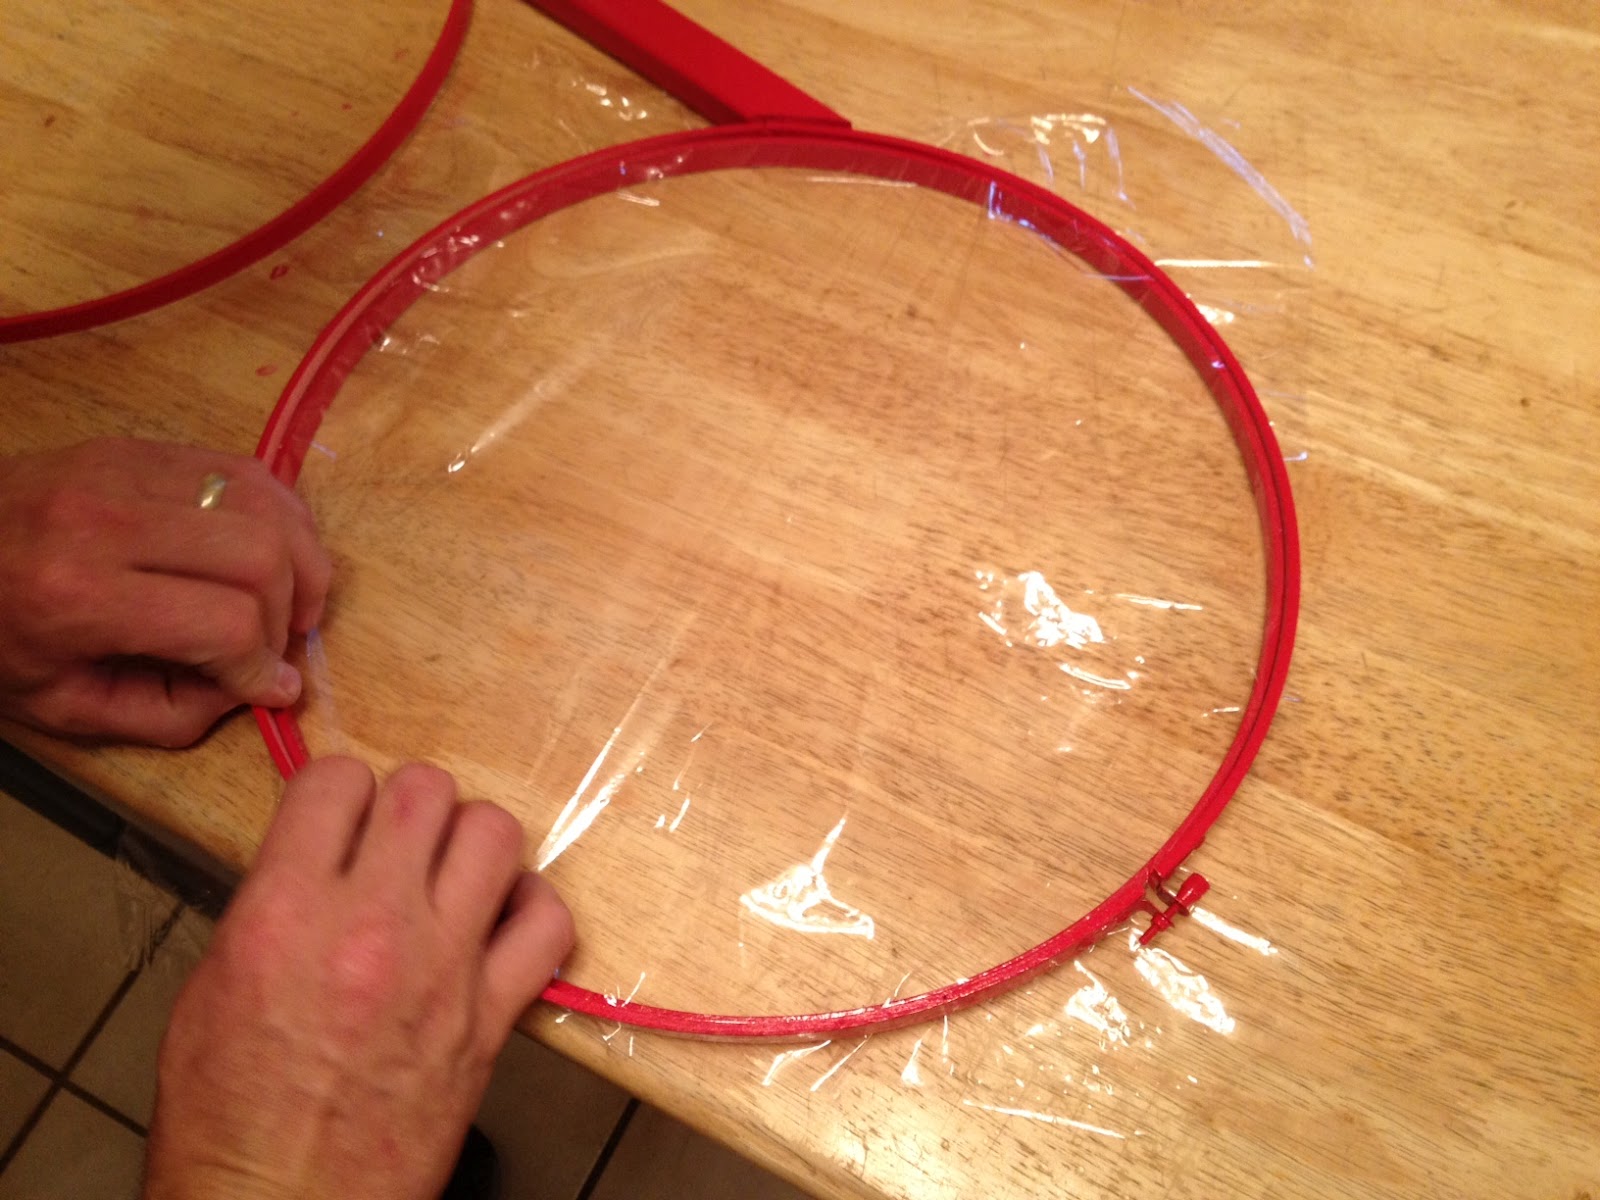
16.  Place the vinyl over the outer hoop.  Make sure to pull the vinyl back as tight and smooth as you can to avoid big wrinkles in the "lenses".


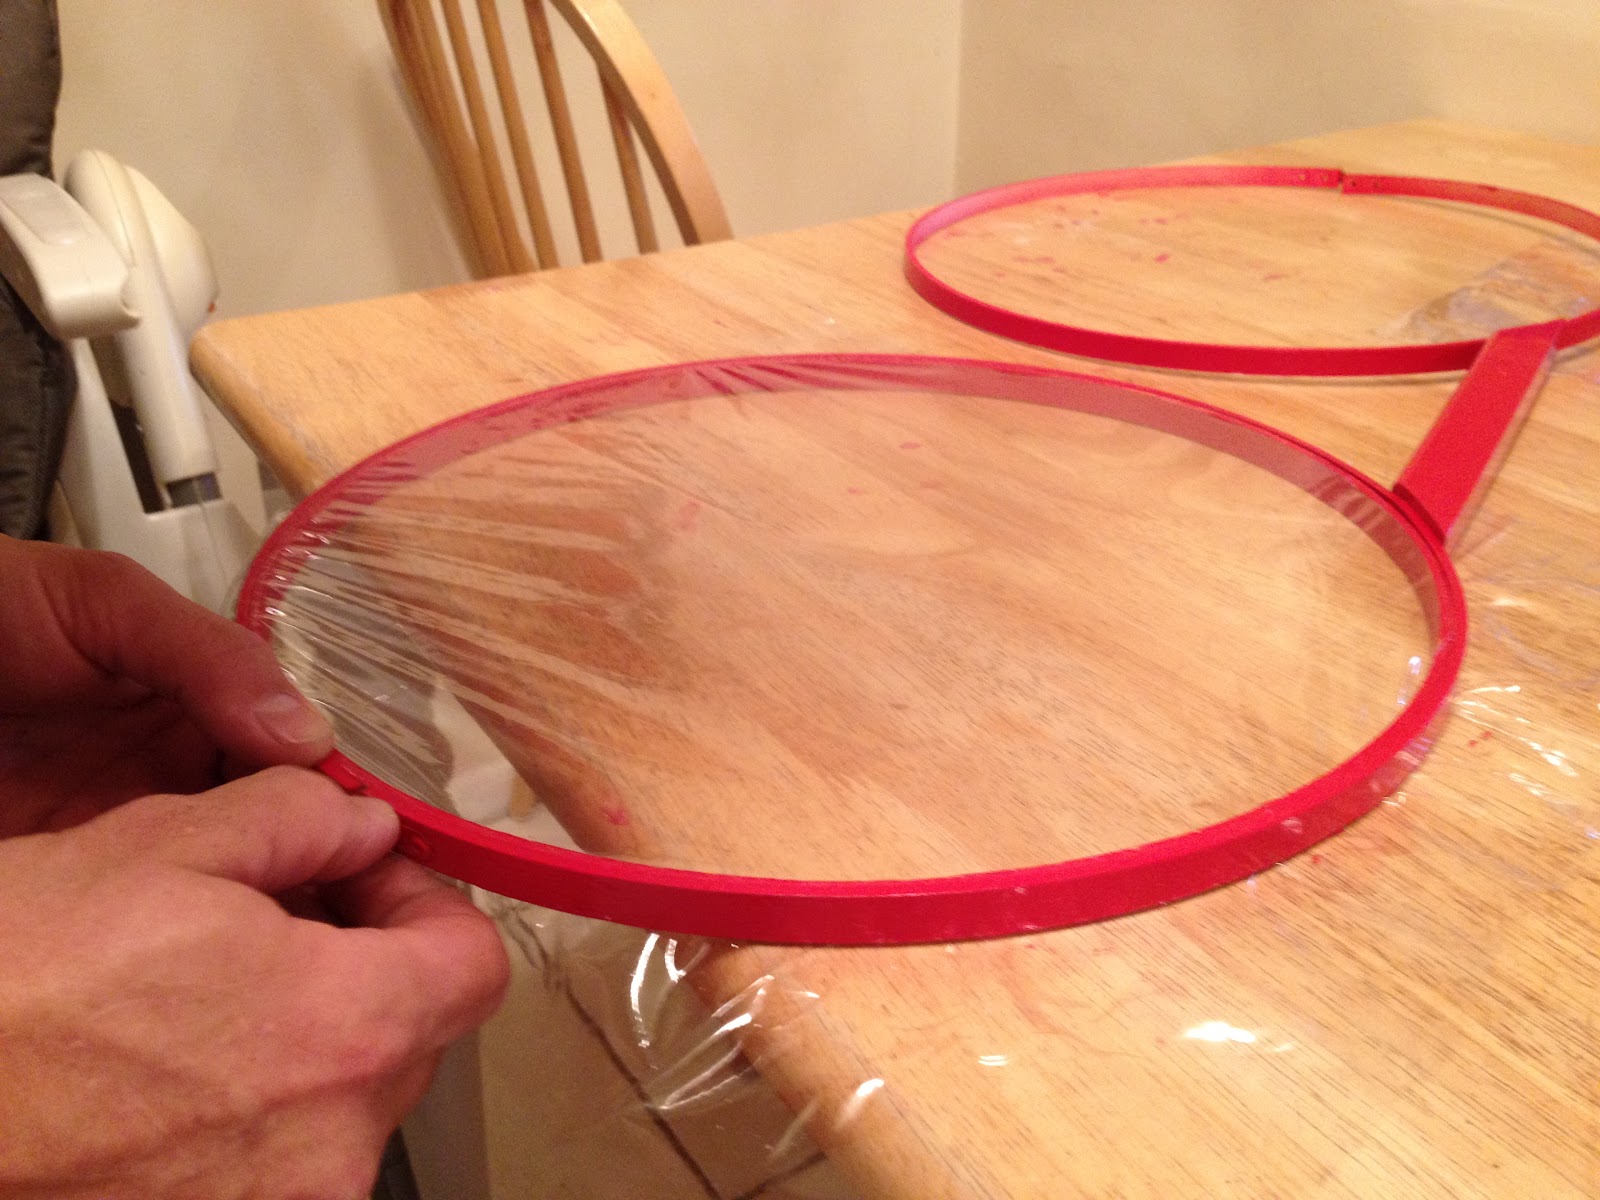
17.  Once you've got the vinyl just right screw the inner hoop down and trim off the excess vinyl from the sides.

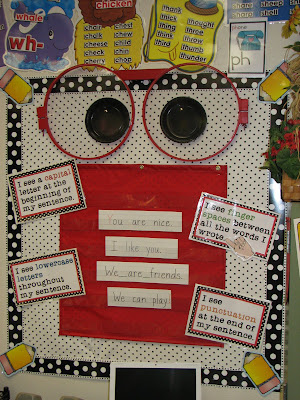
18.  You're all done!  Now you have a fun pair of giant Writer's Eye Glasses for your classroom.


school blog signature

Monday, March 8, 2010

Writer's Eye Glasses


I teach my students to use their Writer's Eye. The Writer's Eye was taught to me when I took my CLIP class through ASU. The basics of the Writer's Eye is to teach the children to ask themselves questions while writing. Here are the basic questions:
1. Do I see a capital letter at the beginning of my sentence?
2. Do I see finger spaces between the words I wrote?
3. Did I use lowercase letters throughout my sentence, unless I needed to use a capital letter?
4. Do I see a punctuation mark at the end of my sentence?
5. Does my sentence make sense when I read it?
To remind my students to ask themselves the above mentioned questions I created this bulletin board. Actually, Mr. Phippen was the genius who came up with the idea of using embroidery hoops to form the glasses. Anyway, you need 2 hoops, a small piece of wood to join the hoops, 2 black paper plates, and spray paint to create the Writer's Eye glasses man. The kids love it!

school blog signature
PS  I have updated this Writer's Eye board and even made a Writer's Eye Bulletin Board product on my Teachers Pay Teachers store if you'd like.  Plus, I posted a tutorial on how to make the giant glasses too.

Saturday, October 3, 2009

Wall Mural


Last year my principal granted me permission to paint a mural in the hallway outside of my classroom. I was hoping that if I painted I would not ever, ever, ever have to move classrooms again. My mom came and helped me. My idea was country field meets a Chicka Chicka Boom Boom/Seasonal tree of sorts. We painted the rolling hills and ground a green with polka-dots and stripes to add interest. The tree is all brown, with black detail... it looks like a bare tree. We cut out leaves from a variety of green papers, crunched and folded them too. I die cut the alphabet in a variety of styles then stapled the leaves and ABC's on top of the tree branches. It's fun. If I'm feeling ambitious I have the kids design fall leaves and post them up in the fall. I take all the leaves off for winter, add some for spring, and deck it out again for summer.
school blog signature